This post may contain affiliate links. Please read our disclosure policy.
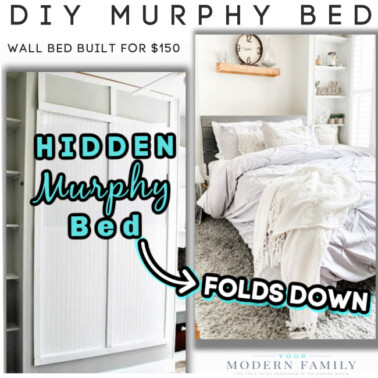
Have you ever wanted to make your own mudroom bench? That’s exactly what we did… and it was so easy! Just like when my husband built the DIY Murphy Bed, this bench was built quickly. Plus, it was better suited for the space (and much more cost-effective) to custom make our own.
When we moved into our home, it didn’t have a “catch-all” area like a mudroom. It didn’t have a space for one, either. At the time, we were using the coat closet by our garage door to hold everything from backpacks to coats, shoes to sporting equipment. We quickly outgrew that closet, which is now our DIY Cat Closet.
We found a much better solution: Instead of a closet, or even a full mudroom, we made a storage bench & it’s been working wonderfully for years!
DIY Mudroom Bench
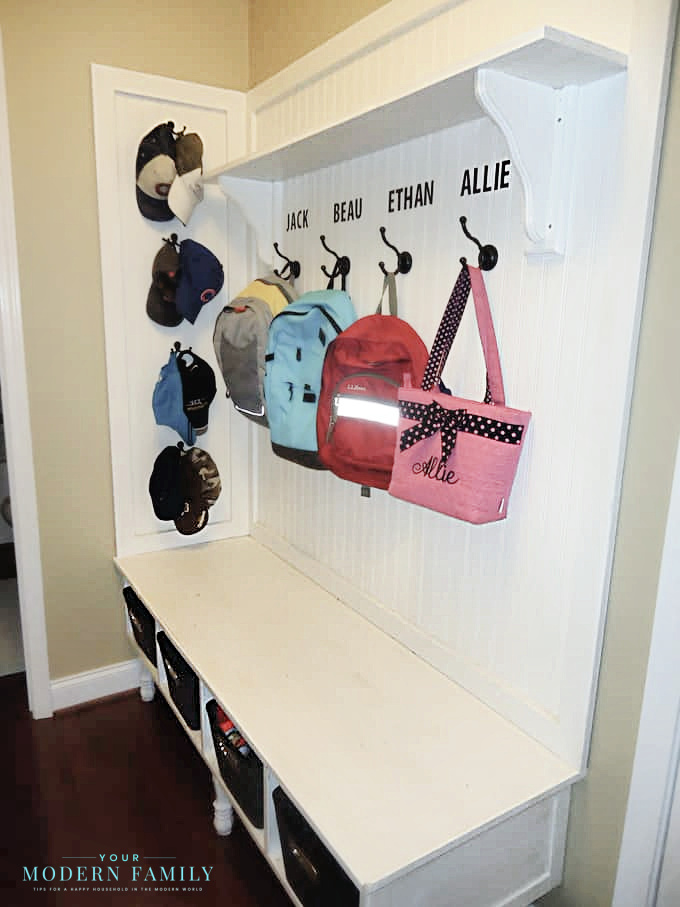
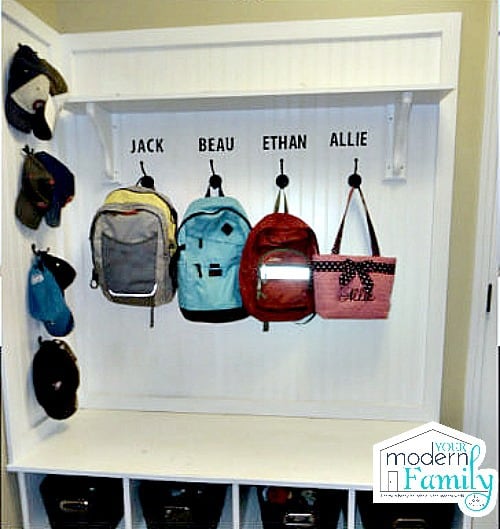
It was my husband’s idea to make a mudroom bench and it’s been an amazing solution for our family. This bench is directly inside of our house when you walk in from the garage door. It’s a spot that gets a lot of traffic and it’s the “drop-off” zone after school for backpacks, coats, shoes, etc…
WHERE IS IT?
We have our bench at a convenient spot: Right off of the garage. When we come in through the garage, we walk in through the door that you can see on the picture below (to the right of the bench). Everyone just stops off at the bench before going into the other areas of the house. We can just walk in and immediately put everything away.
How to make a mudroom bench:
PRO TIP BEFORE YOU BEGIN: Paint all of the wood before you get started, so you can bring it in and put it together, instead of trying to paint it once it’s installed.
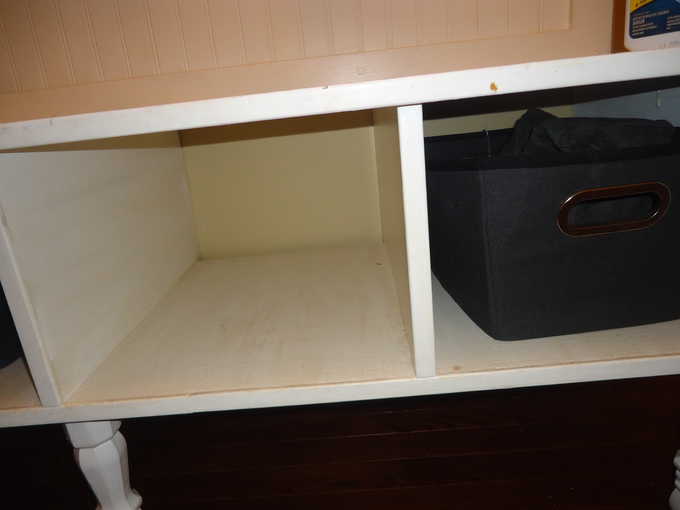
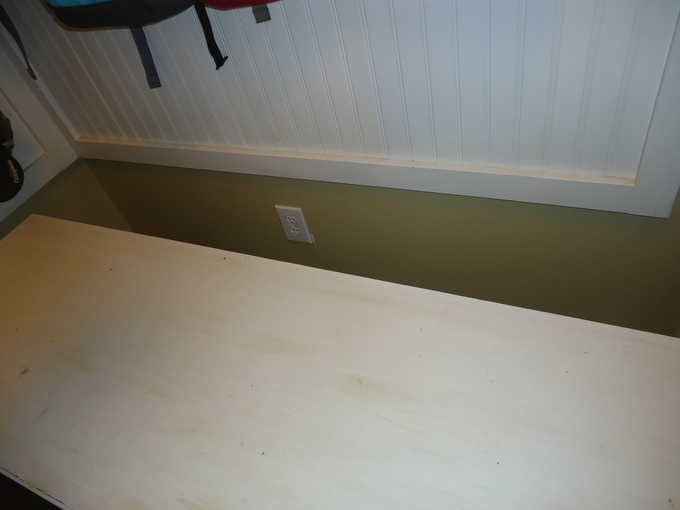
STEP ONE: My husband started by taking one sheet of plywood, cutting to size, and making the box frames for the bench (nailed together using a nail gun.)
STEP TWO: He bought the legs at the hardware store (already cut just how he wanted them) and he added those.

STEP THREE: He put the bench against the wall (with the legs on it) and then he put the bead-board right where he wanted it (right on top of the bench).
Attach this with nails (nail gun)
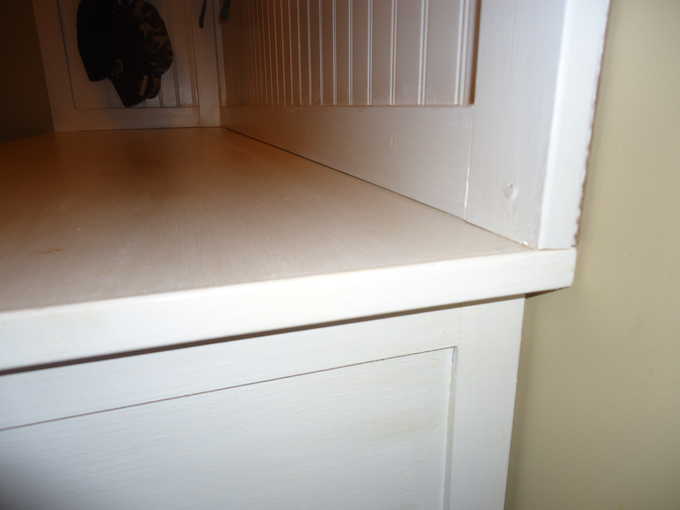
STEP FOUR: He used the trim-pieces to frame the corners & the edges and used 1X3’s to trim the rest of the bead-board.
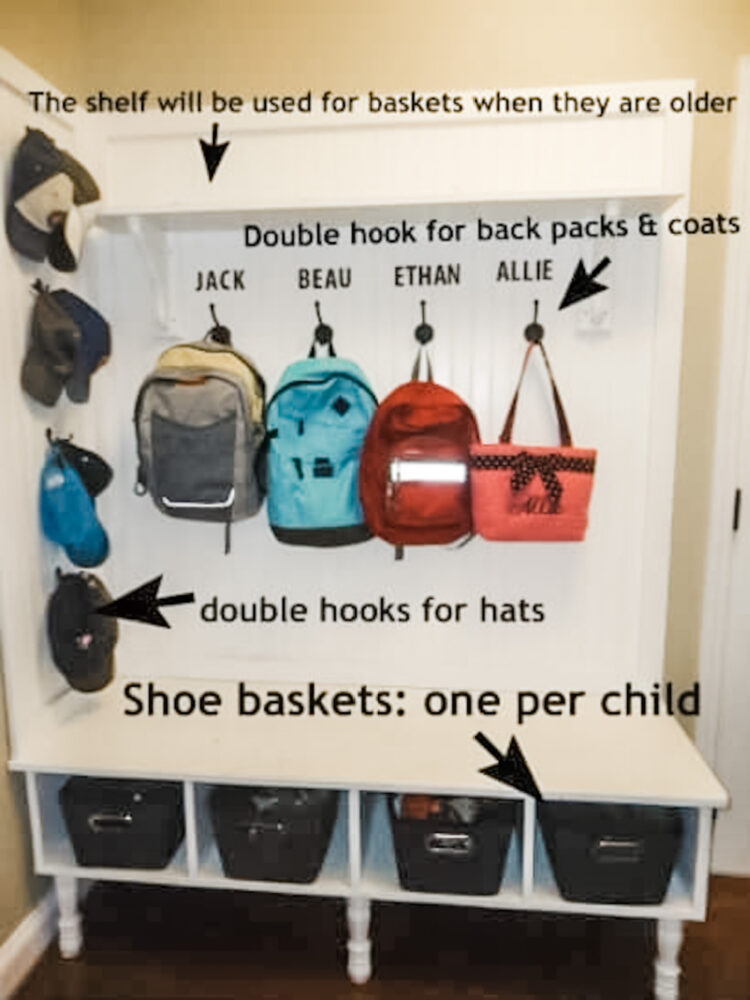
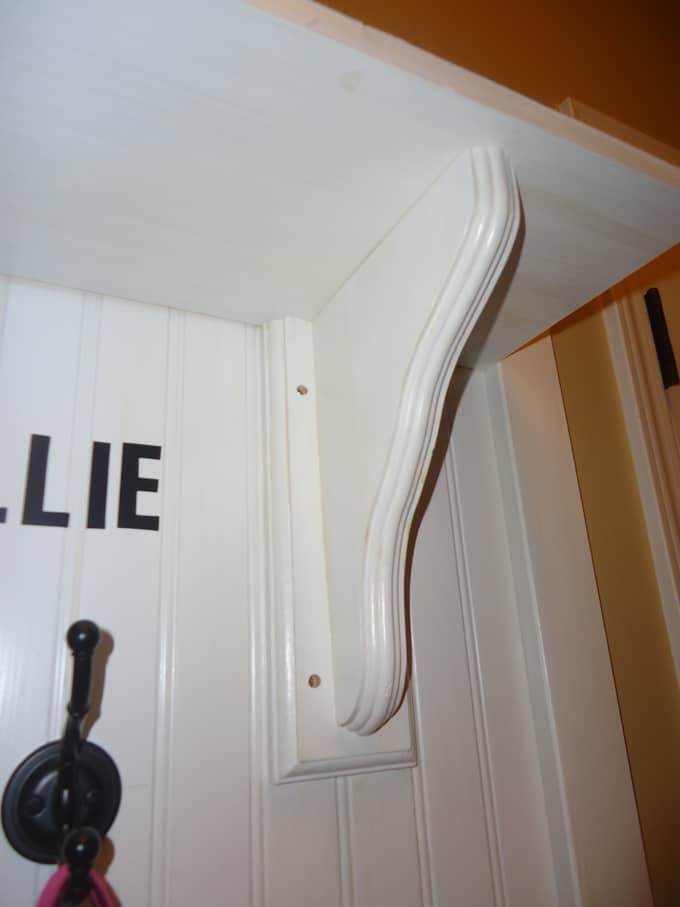
STEP FIVE: Add a standard 8-inch wide board for the TOP shelf. He bought the wooden shelf-brackets to support it.
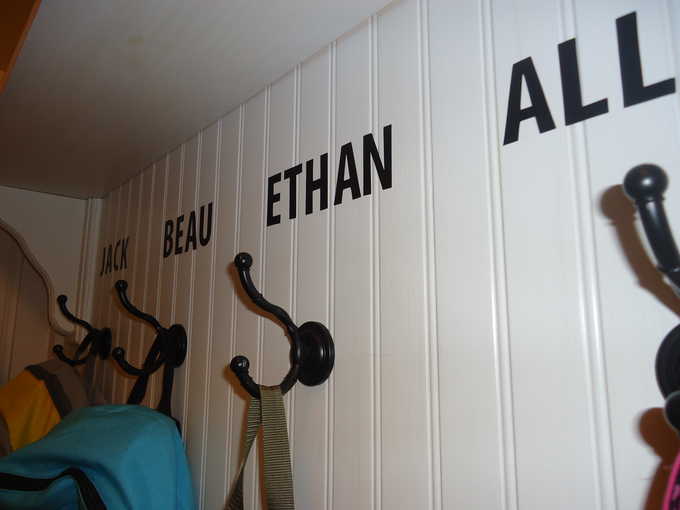
LAST STEPS & FINAL TOUCHES: He sprayed a clear-coat on it to protect it. We added the hooks. Both were double-hooks to maximize the space.

DECOR + FUNCTION: Pick up some cute, yet functional baskets at the store – you’ll use these more than you know, so get durable ones. We also bought vinyl letters for their names. The letters were $3 and I had many left over when I finished.
PADDING OR NO? I decided not to pad the bench because I didn’t want to have to worry about cleaning the fabric. Wood is easy to wipe clean & I knew that this would be full of dirty things like backpacks, shoes, baseball gloves, lacrosse cleats, and more.
BEST LOCATION? I suggest finding an empty corner, so you can utilize both walls. However, you could really do this anywhere. You could EASILY turn a coat closet into a mini mudroom by adding a bench, baskets, and a few hooks.
HELPFUL TIPS FOR A DIY STORAGE BENCH:
- Decide where you want to have your spot by looking at coat closets, entry areas, etc…
- Pick an area that is close to where you come into the house. If you come in the front door, add one there (We rarely come in our front door, so near our front door, I just have a small shoe basket that sits on the floor below our decorative coat rack that hangs on the wall. We rarely use it, but guests tend to use it often.
- Remember that you can buy pre-made shelves or benches. (I know that Walmart has benches for $50 and Ikea has some great units like this, already put together).
- Get a few baskets for shoes, some hooks for coats, and add a shelf for extras.
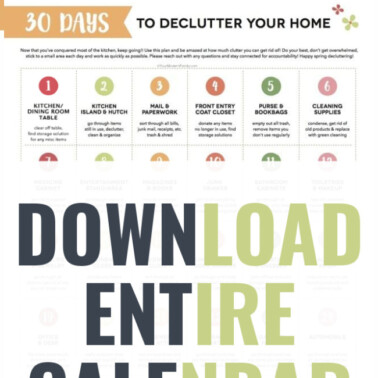
- If you want to see the full index for the 40 days of the organization, see it here. You can pick where you want to go next (kitchen, bathroom, laundry room, outside….)
Or are you ready to move onto Day 7: storage in the living room. (Hiding toys!)
MORE ORGANIZING IDEAS
Do you want a whole book devoted just to de-cluttering and organizing? The book, Freed from Clutter, is 40 days of Organizing the Home.


Nice work!! Love this. It’s so NEAT, too. Wow Thanks for sharing. Linda
I love this.
You are featured this week on Busy Monday at A Pinch of Joy! I hope you will stop by and grab a Featured Button from the Button Box on the sidebar. Pinned. Can’t wait to see what else you’ve been working on!
Thanks!
Your mudroom ROCKS!!! Thank you so much for linking up in the Crafty Showcase last week!
have a super week!
Susie @Bowdabra
http://bowdabrablog.com/2013/03/02/crafty-showcase-link-up-anything-fun-in-the-craft-project-linky-3/
Wow – looks so great and super organized! Thanks so much for sharing all of your projects and creativity at Project Inspired!
Hi Becky, I am really enjoying reading this. It has inspired me….at least for now. Being organized does not come naturally for me. I am a creative dreamer….so sometimes things are a bit chaotic. But I really think your great tips are going to lead me to some improvement. I also have 4 little blessings 6 and under, come this summer we will have 5, 6 and under:)
Oh- how fun!! I love having four kiddos!!! 🙂
I am seriously amazed! I want this so bad. Thanks for sharing!