This post may contain affiliate links. Please read our disclosure policy.
The kitchen is the heart of the home and being able to organize the refrigerator will help your whole kitchen to feel organized (it does this for me, anyway)♥. It will feel like a clean kitchen all over!
The kitchen is where we do homework, make meals, eat meals, do our arts & crafts, etc. It’s the front & center of all of our activities. The kitchen is where we spend most of our time. The only thing that drives me crazy is a messy kitchen. It can be a sink filled with dishes, a dishwasher that needs to be unloaded, or a refrigerator that feels messy… that’s when I know that organizing the refrigerator needs to be my next task.
So… let’s tackle the refrigerator and get it organized (and clean). I know, not too much fun, but it will get you started.
Clean & Organize The Refrigerator
It’s best to prepare for the cleaning of the refrigerator by getting everything that you need before you begin. Here’s what you’ll want to begin:
-
30 minutes
-
Cleaning supplies
-
A permanent marker
-
Tape or labels
-
Garbage bags
-
Containers
-
Baggies
Cleaning the refrigerator
Before you organize the refrigerator, you need to clean it. Be sure to give yourself at least 30 minutes to tackle your fridge organization task. You don’t want to leave the food sitting out for longer than 30 minutes, so try to avoid starting at a time when you won’t be able to finish.
-
Take everything out of your refrigerator.
Note: I suggest cleaning the freezer section separately after you finish the refrigerator. This way you can give yourself more time, to avoid thawing your food. -
Clean the shelves – start with the top shelf & work your way down until you hit the lowest shelf. Scrub the food and spilled drinks from the shelves (soapy water works well for this, or a cleaner, or vinegar and water).
-
Check expiration dates & throw away any old food or drinks. Go through your fruits & veggies, as well, tossing any that aren’t fresh. This will get rid of any unpleasant smells while you clean your fridge.
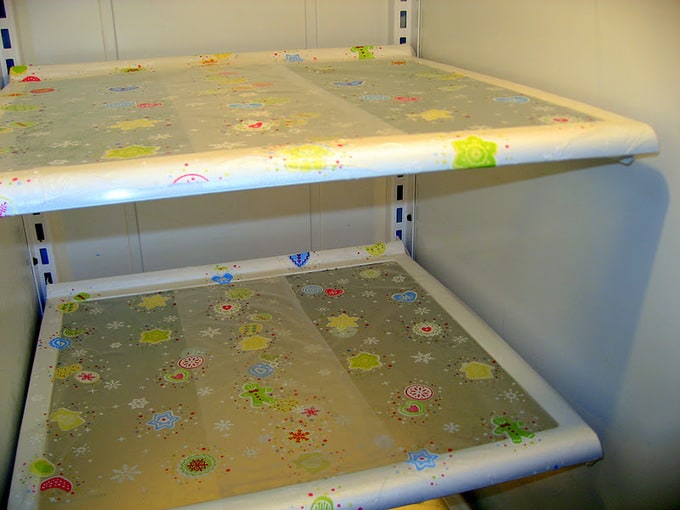
- Optional… A great way to keep your organized refrigerator clean is to line it first. You could always line your clean shelves with saran wrap or Press-n-Seal like The Virtuous Wife‘s picture below. When something spills, you can just replace the wrap with a new clean sheet.
Once It is Clean it’s time to organize the refrigerator
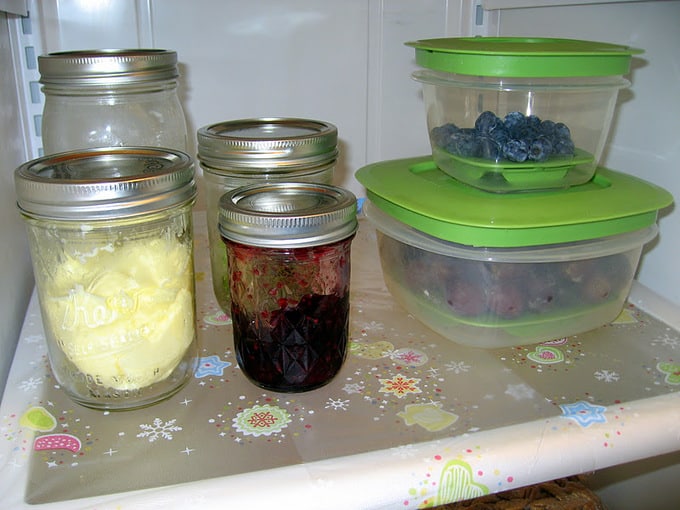
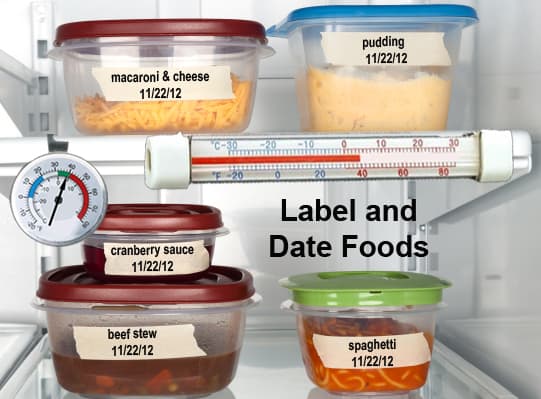
- Step one of organizing your refrigerator is labeling items so you know what food is in which container & the date that it needs to be eaten. Add tape or labels to your items and write the date on anything that is opened to help you avoid food waste by using it in time. I use a marker to write on the lids of things or on the tape if it isn’t a disposable container
Example: For an applesauce container, I’d write the date right on the lid, but if it is left-over dinner in my own container, I’d add tape & write the date on the tape. Now I will know that this is only good for a week past this date, or whatever your time frame is for your item. When we have eaten the food, I just peel off the tape & throw it away before putting the container into the dishwasher.
 When we have eaten the food, I just peel off the tape & throw it away before putting the container into the dishwasher.
 Storage Solutions for the Refrigerator
- Keep fruits & vegetables in crisper drawers, if possible. Put hot sauce and other condiments in the drawer. I usually keep deli meats in food storage containers that will keep the food fresh longer.
- If you can keep items in clear containers, it will help you to see exactly what you have, so you can use it up quickly instead of forgetting about it.

-
Combine like items and put them into smaller containers (soup into baggies, waffles out of the box and into freezer bags, etc…).
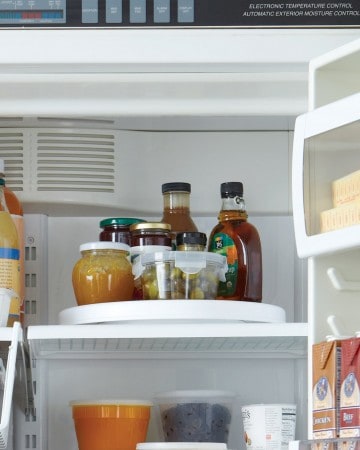
- If you need to reach more items in the back of the refrigerator, you can invest in a lazy susan:

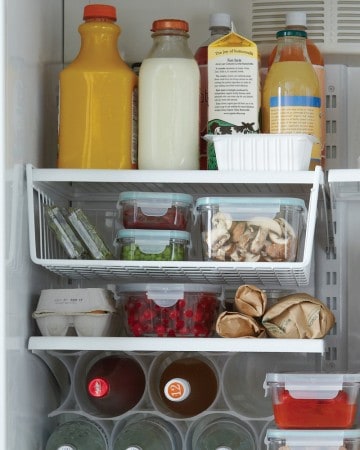
Martha Stewart has a great idea to use hanging shelves to keep those little containers organized (like the one under the milk and juice):

Tip: I like to make a shelf or basket just for frozen veggies, one for frozen meat, one for ice cream (yes, I have that much!), etc…
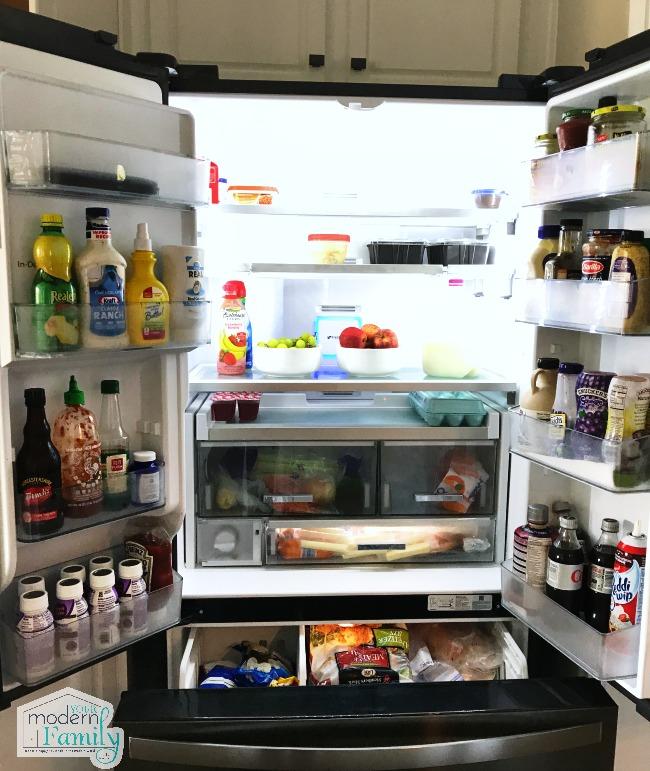
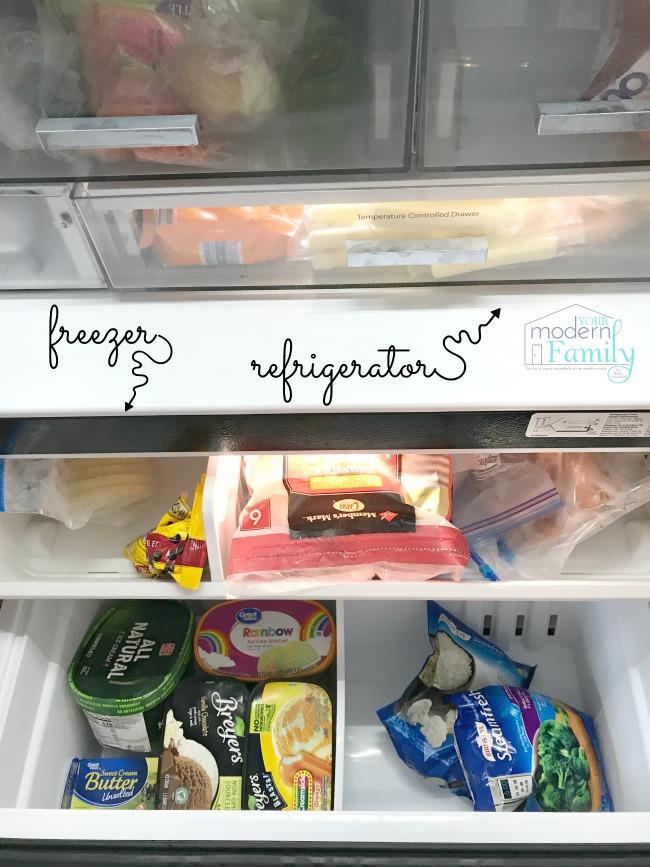
The shelves adjust, so we raised our middle shelf a bit, to allow room for taller bottles on the bottom shelf & door.
Below is a close-up of the freezer. Oh… and yes, that is a lot of ice cream- one small cup each night makes for the perfect evening snack! 🙂
Cleaning & organizing the refrigerator front:
I like to keep most of my things on the side of the refrigerator to keep the front clean.
On the front of the refrigerator, I keep one picture of each of our kids and one thing from school (see my School work & artwork organization here).
On the side of the refrigerator, I keep my calendar and important paperwork. Report cards go here, too. 🙂
The Outside of the Refrigerator sets the tone
Make the outside as clean & organized as the inside! It is what you see when you walk into the kitchen, so make it as great as the inside.
-
Start by taking everything off of the front and sides (and the top if you have time to tackle that right now.)
-
Go through everything and throw away what needs to be thrown away. Move the rest to the side.
-
Tape a large envelope to the side and use it to store important receipts that you need to keep. When it is full, go through it and throw away what you do not need. This can be a great system for any paperwork. Check out how to tackle paper clutter when you are ready.
-
Use another large envelope for other paperwork that you need (school handbooks, etc…)
-
The same rule goes for the top. It is easy to just throw it up there & forget about it.
Today is the day where you remember it and take care of it!
~If it is something ‘waiting to be fixed’ (in our case, a picture frame was up there for about 6 months!), either fix it or toss it.
~If it is a book, return it or donate it.
~If it is paperwork, file it or throw it out! -
Now clean the front of the refrigerator with your favorite cleaner (appropriate for the material that your refrigerator is made of) until it is shiny.
-
Clean the top – it is dusty up there, trust me.
Good luck with organizing your refrigerator!
While organizing the refrigerator… and the entire kitchen organization can be a lengthy process, it is worth it and will make you feel so much better!
It’s best to try to keep up with this on a regular basis. If you can go through your refrigerator every week or two, tossing out old food or cleaning up spills, it will be so easy to keep clean.
Tip: After you are finished reading this, go to your calendar and find the date that is ten days from today & write “Go through refrigerator”. When you see it, you’ll know that it’s time to throw out old food and clean up easy messes.