This post may contain affiliate links. Please read our disclosure policy.
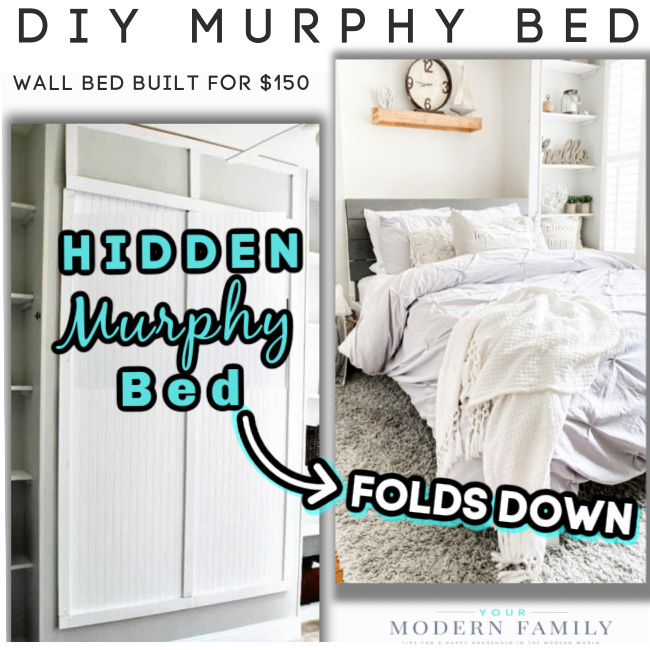
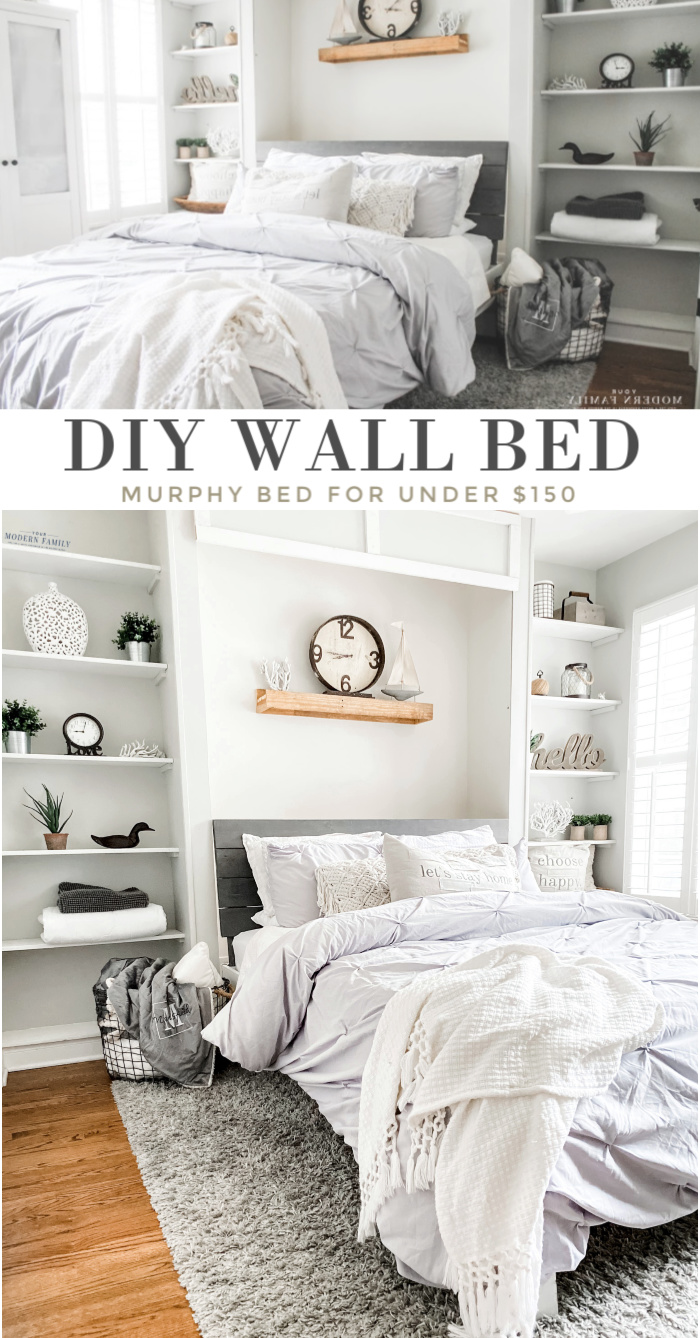
DIY Murphy Bed Plans
These DIY Murphy Bed Plans will make building a wall bed an easy Weekend-Project for your family! The Wall Bed will be a great addition to any room. It can free up room in an office, turn a playroom into a bedroom, or just give you options for guests.
 Are you looking for a Murphy Bed Kit? That’s what I wanted. I loved having a playroom and an office, but it meant that we didn’t have a guest room. Since we live in the Carolinas, but my husband’s family lives up North, we needed a place for them to stay when they came to visit their four grandchildren.
I put my husband on the job to find a solution… he decided to design a murphy bed. My husband, brother, and dad got together that weekend and worked on the plans.
They went to the store, grabbed what they needed, and came back to start working. By the end of the day… I had a wall bed that could be put up when we were playing or hanging out in there, but it could be put down when my in-laws were going to be visiting.
I wanted to share it today to let you know that you don’t need any of the expensive wall-bed kits because this DIY wall bed will save you a lot of money & look just amazing! I always get compliments on ours… after I tell people what is behind that wall!
(If you want to skip this post & just buy the plans for $9.99, click here. You can start building ASAP! You’ll be so glad that you did. It’s the perfect solution to creating more space in a home.
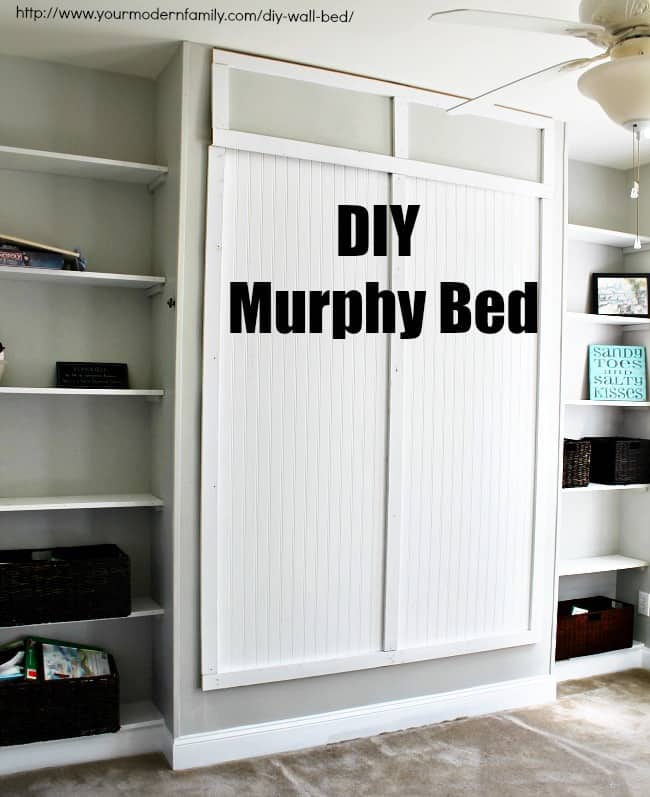
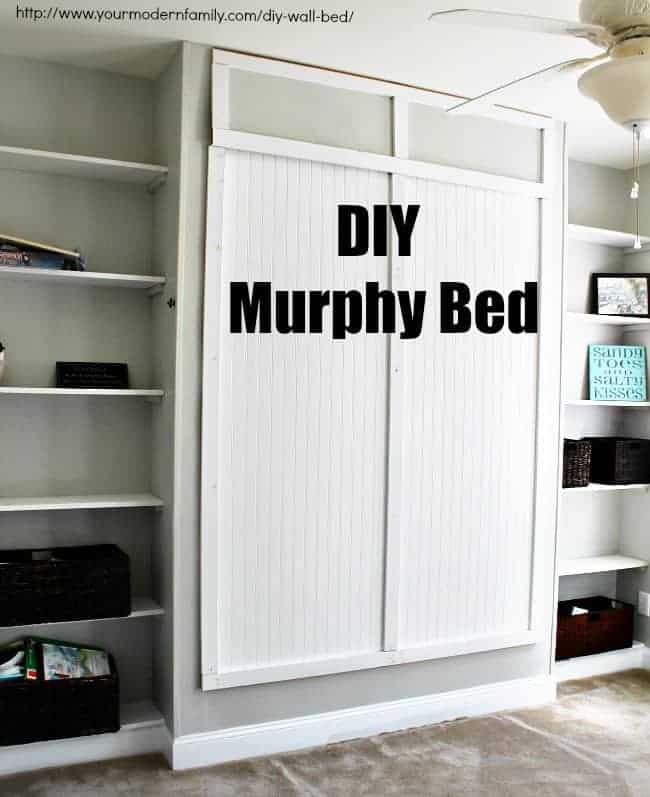
You can see in this much older picture (below) that we used to use it for a playroom (see the baskets filled with toys?)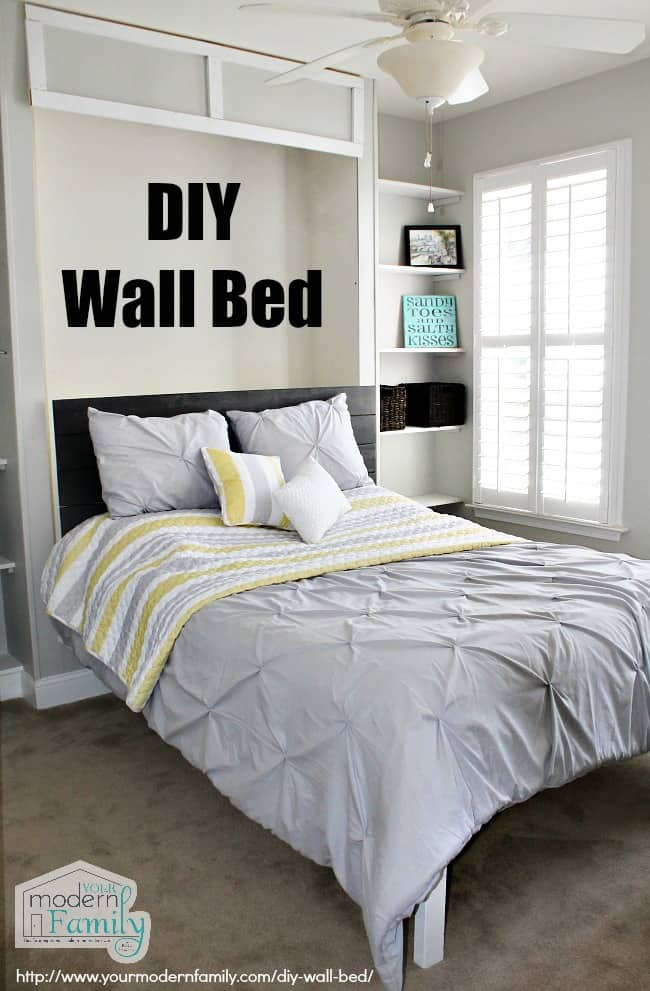
Now, we can really use it as an extra guest room, or we can put the bed up & use it as a bonus room. The kids use it as a quiet place to do their homework when they aren’t sitting at our IKEA homework station. We also use the room to do arts & crafts.
When the company comes, we just fold up our fold-away desk (we can just leave it folded up on the ground because it fits under the bed when folded) and we lower the bed. We put on fresh sheets, add the headboard, and we’re ready for company. Ten minutes to transform this room from an office, playroom, or homeschool room to a guest room or bedroom.
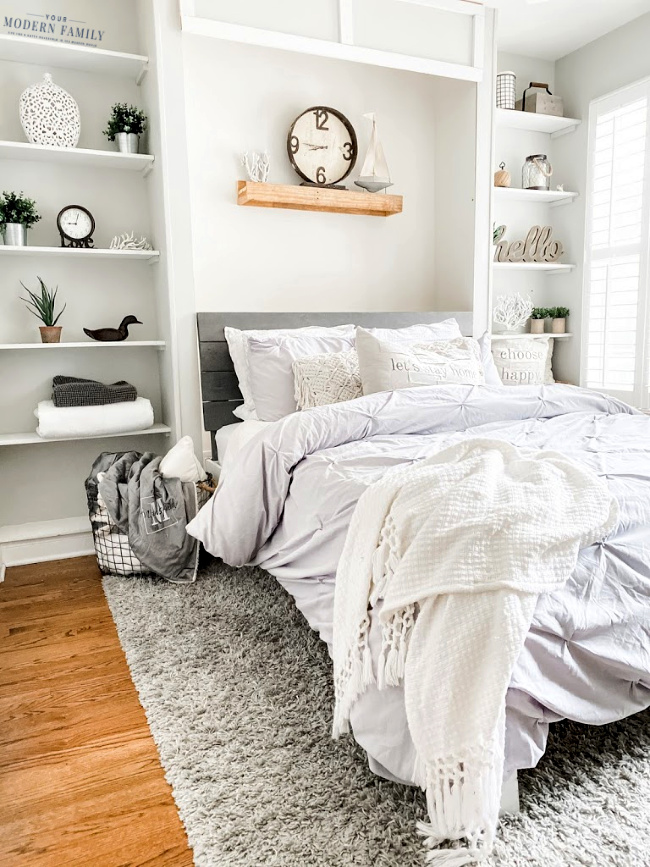
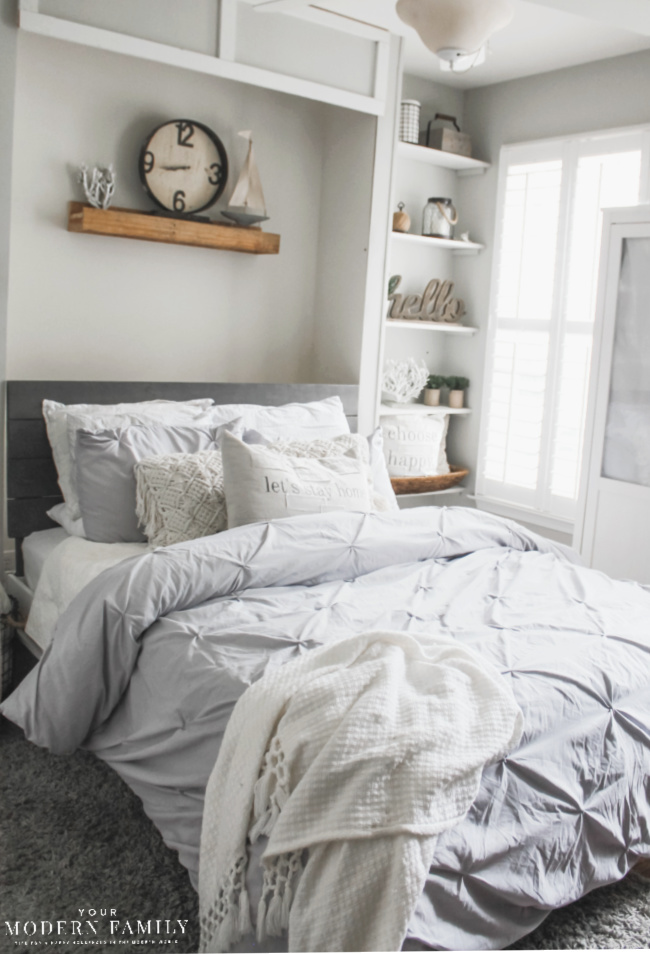
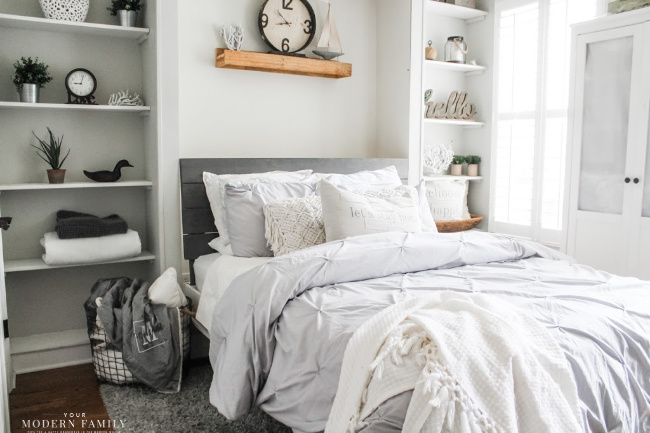
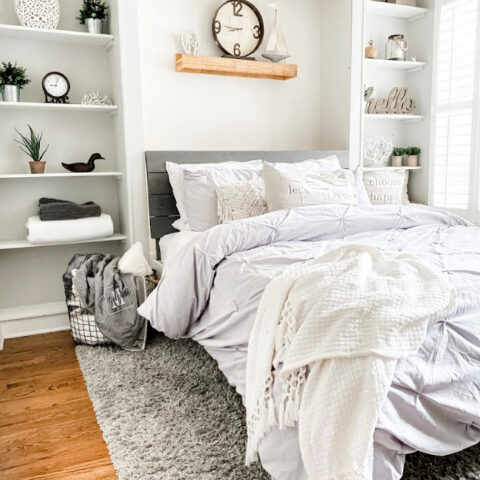
Here is the updated room…
We love to build DIY things in our house (like our DIY mudroom bench). Our house has one room downstairs and all of the other bedrooms are upstairs. Since moving in almost four years ago, this downstairs room has been a playroom, an office, a guest room… I just can’t seem to decide, until I finally decided on EVERYTHING!
So they built a Murphy Bed and it looks and functions just like I had hoped…
If I didn’t mention it before… my husband, brother, and Dad can build anything. ♥
They built our screened-in porch, among other things. My husband also built this mudroom bench, so I know that they are very capable, which is why I asked them to design and build a DIY wall bed (for MUCH less than the $2000 ones that I was finding online!)
How long does it take to build a murphy bed?
- This DIY Murphy Bed took them about four hours.
- That time includes the shelves that were built, as well.
- Before you begin, make sure that you have everything that you need to make the bed easily & quickly.
If you truly want to build it, I suggest purchasing the plans for $9.99. We have detailed pictures, explaining every single step for you, with pictures.
Tips to start building a Murphy Bed
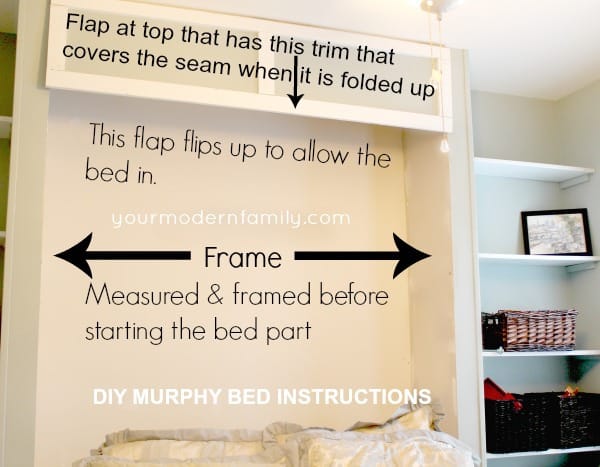
First, you need to make an actual wall.
You are making a frame in the wall- it is sort of like you are adding a mini addition to that wall because none of this was there- you need to bump out the wall, so to say. Build a frame on the wall, then move onto the DIY Murphy Bed next.
HOW TO BUILD A MURPHY BED
1. Remove the baseboard & then build-out.
2. Make the platform (they built it in the garage & brought it inside).
3. We have 2X4’s laying flat under the plywood board (spaced evenly, from side to side) for support.
4. Door hinges are used in the lower back part of the bed to make it able to fold out. This makes it heavier but was much cheaper.
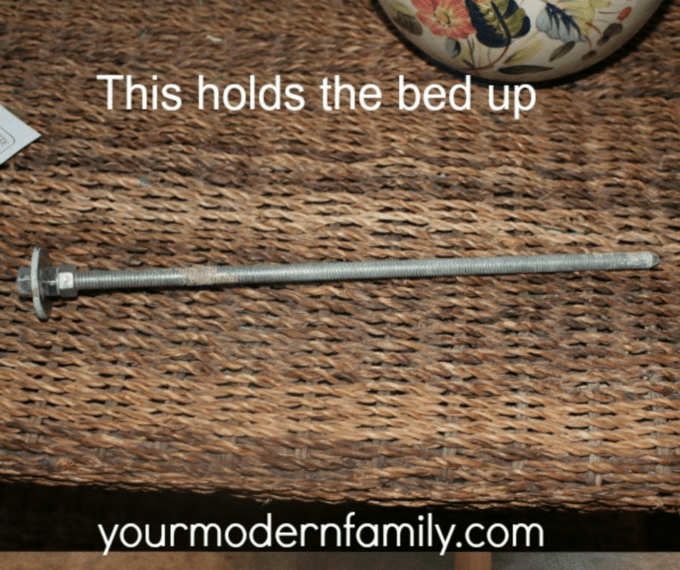
5. Use these long pins (safety pins used out of threaded rod)
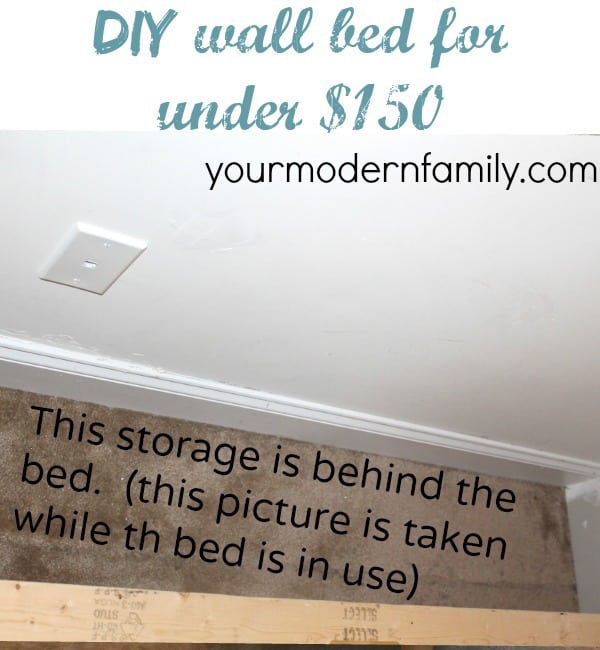
6. The ‘fold’ is hidden because it is right under that bottom trim, so you can see it if you are laying on the ground, looking up.
7. The pillows sit in the back, behind the bed. When it is folded down, you will have a space to store decorative pillows and throws that are not being used.
8- Build shelves. I didn’t want the wall bed to stick out too much, so we decided to add shelves. They are perfect for storage or decor.
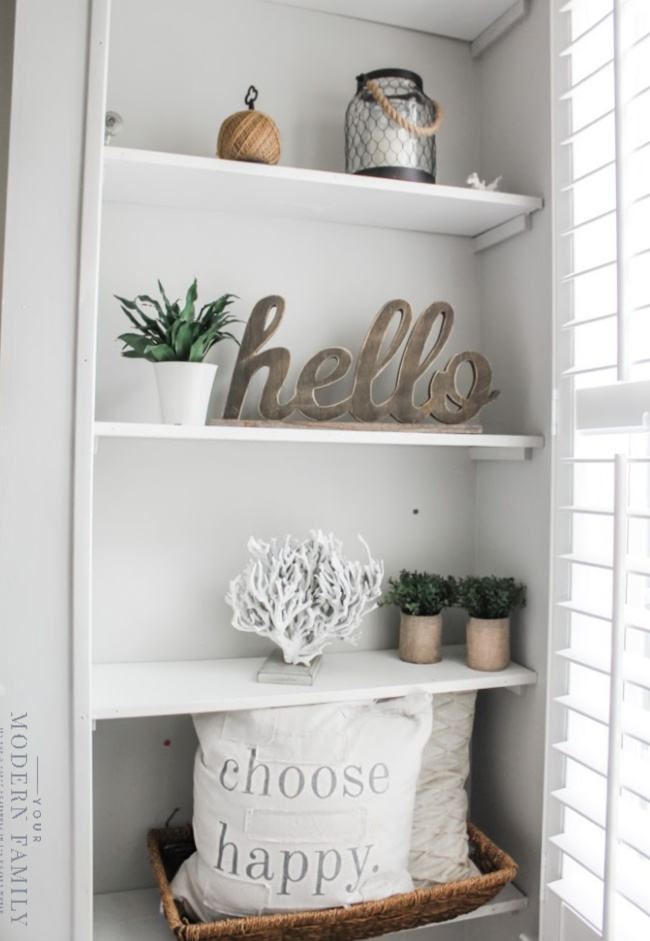
8. Decorate. When the kids were little, these shelves were filled with toys. As they’ve grown, we’ve swapped them out for decor and a few baskets with books in it. We also have an Ikea closet in the room that is filled with arts, crafts, and board games.
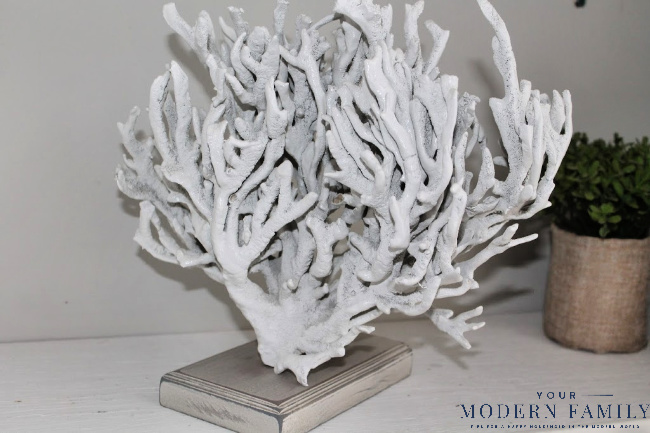
Ps- Look at this DIY coral. Our kids found it on the beach when we were in Hilton Head last year (our home away from home), and it was starting to dry up. My husband let it continue to dry out and brought it back to turn it into a decoration that I could use in the house. He mounted it on a piece of wood that he painted & sanded. So pretty & it brings back great memories…
That’s it!
If you want the full plans, with every detail so you can build it yourself – we have printable Instructions & Blueprints for you to purchase right here.

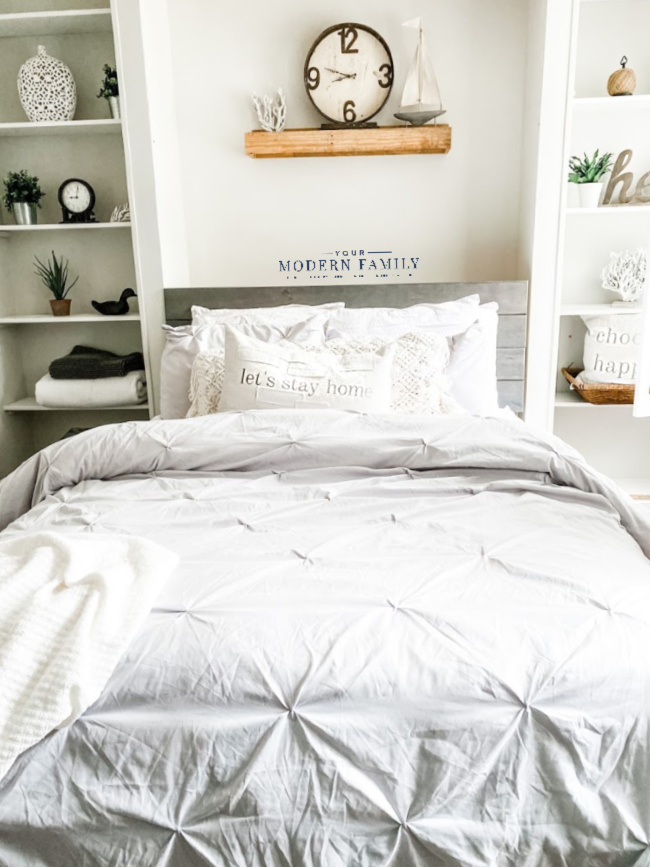
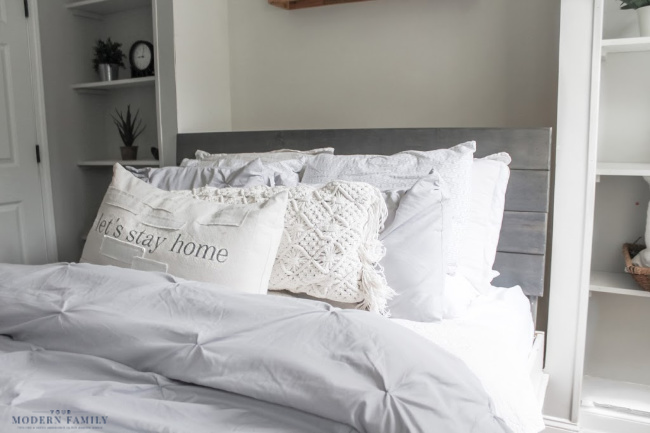
Wall Bed Tip: Mickey built a beautiful headboard & we keep it in place with PVC pipe caps.
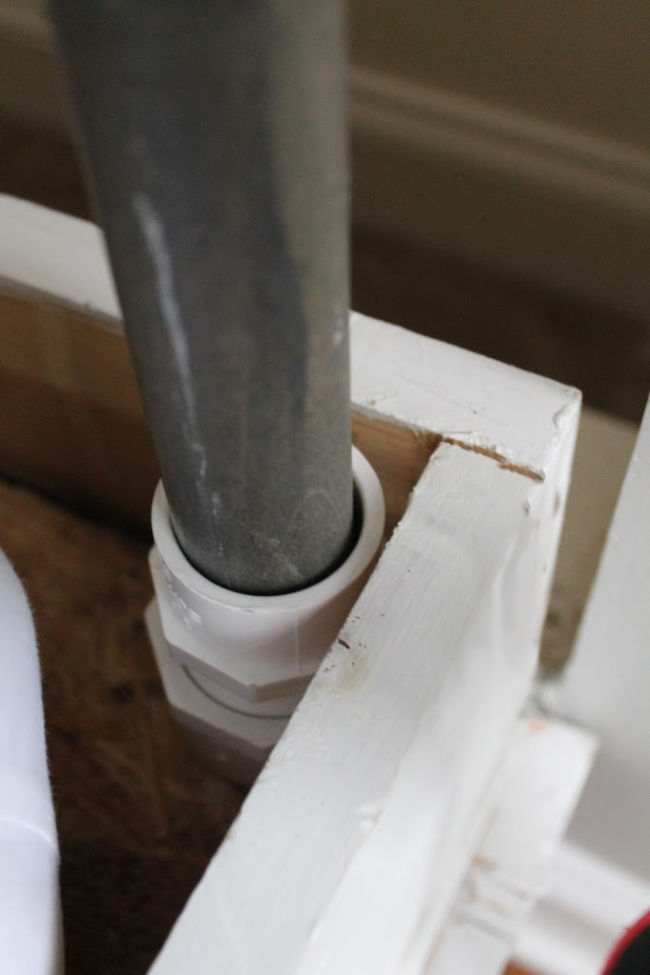
It is removable and stores away behind the bed when you aren’t using it. You can really make this work for your house. It is inexpensive, compared to the kits, and it can be built in a weekend.
Now for a few final Wall Bed pictures…

Here it is all folded up:
Are you ready to build it?
You can find the plans here. In the plans, we supply a list of what you need, how much it costs, hardware supply list, specific images, blueprint drawings & more. Everything you need in detailed plans to build the bed. Find them HERE.
Below is another video…
I hope that you like your murphy bed as much as we do!
MORE POSTS YOU MIGHT LIKE:
If you’d like to sign up to get more tips on House Decor, Cleaning, etc… you are welcome to sign up to get e-mails about new projects & ideas! I’ll start by sending you a room by room cleaning list, as well as my Daily/Weekly/Monthly cleaning list. 
DIY Murphy Bed
Murphy Bed Plans to build your own wall bed!
Materials
- A list of Material can be found in the purchased plans here: https://www.yourmodernshop.com/products/diy-wall-bed
Instructions
- Remove the baseboard & then build-out.
- Make the platform (they built it in the garage & brought it inside).
- We have 2X4's laying flat under the plywood board (spaced evenly, from side to side) for support.
- Door hinges are used in the lower back part of the bed to make it able to fold out. This makes it heavier but was much cheaper.
- Use these long pins (safety pins used out of threaded rod)
- The 'fold' is hidden because it is right under that bottom trim, so you can see it if you are laying on the ground, looking up.
- The pillows sit in the back, behind the bed. When it is folded down, you will have a space to store decorative pillows and throws that are not being used.
- Build shelves. I didn't want the wall bed to stick out too much, so we decided to add shelves. They are perfect for storage or decor.
These plans are our basic plans, explaining how we made the bed. If you would like to purchase our detailed 29-page project plans, you can find them here at yourmodernshop.com
Notes
The plans found in this post are basic plans to give you an idea of the steps of construction. You can purchase the detailed 26-page project plans here.
Recommended Products
As an Amazon Associate and member of other affiliate programs, I earn from qualifying purchases.


