This post may contain affiliate links. Please read our disclosure policy.
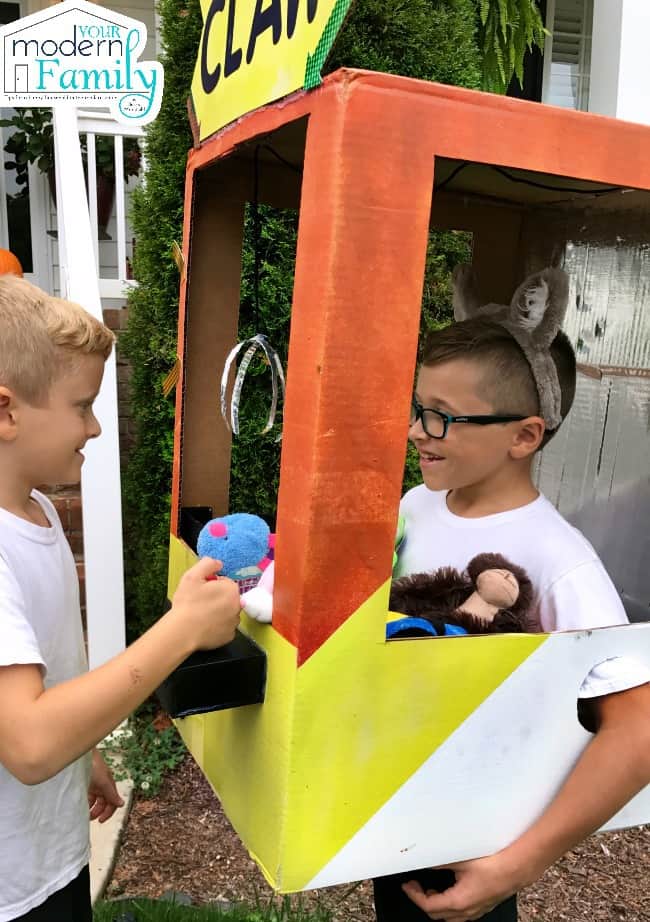
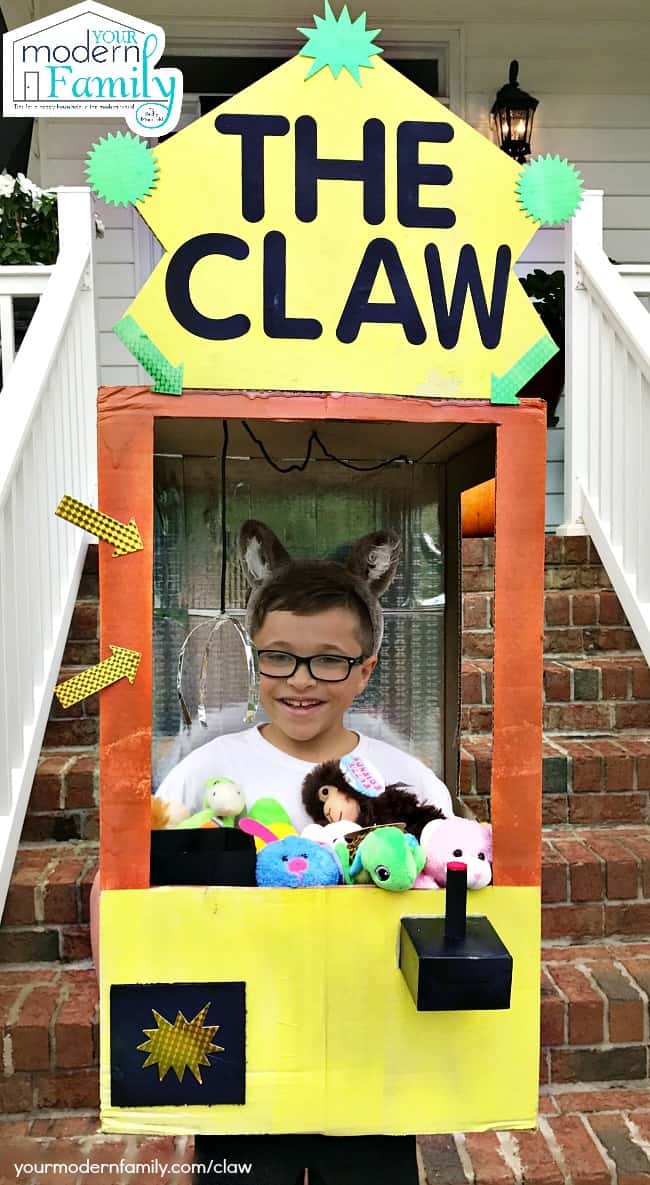
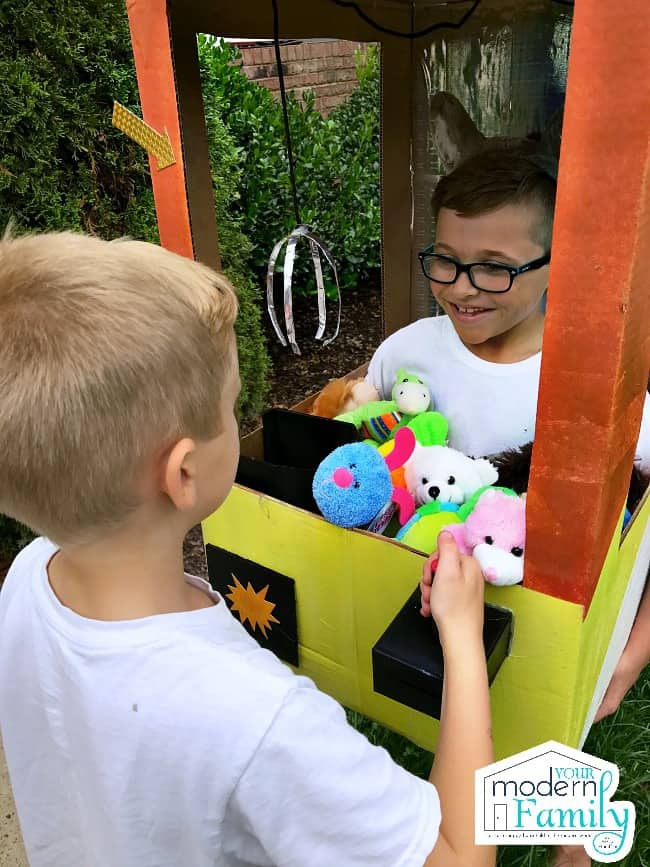
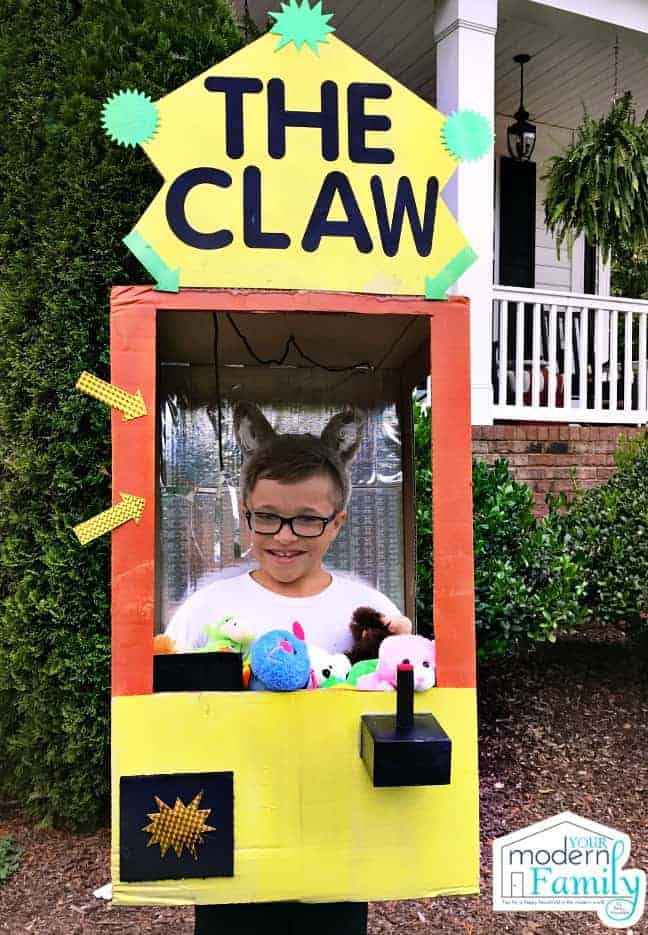
When you have an artistic, creative child, don’t think that you can get away with a simple costume from Amazon. No… they want something that they can make. Do you want to know what I think about that? I LOVE IT! I love that I can give them a box from Amazon Prime and see him turn it into a boxtume. Of course, his dad helped a bit, but the idea was all from Beau… The Claw Machine.
This post is sponsored by Amazon. I am a member of the Mom it Forward Influencer Network.
This is such a fun idea, so I had to share it with you today.
WHAT YOU NEED:
Amazon Smile box (if you are like me, you will have a few in your garage… we are always ordering from Amazon Prime, and we always save the boxes for our kids!)
Paint (we used primer & paint)
Tape (this is just for the design part of it – so it’s optional)
Toys (just order some from Amazon or grab some that are taking up space in your house)
Foil (for the claw)
String or rope (from the claw)
Stickers
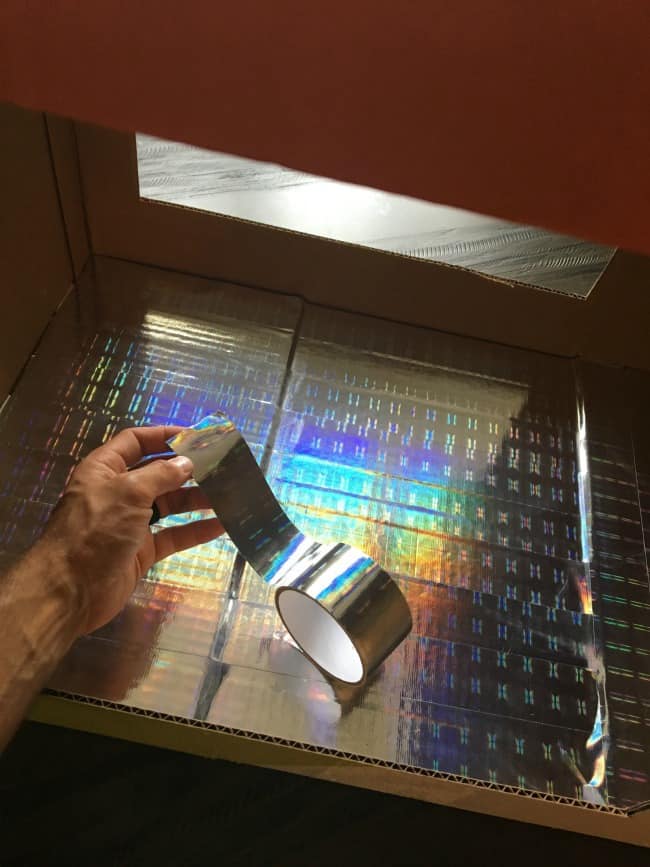
Reflective Tape
DIRECTIONS:
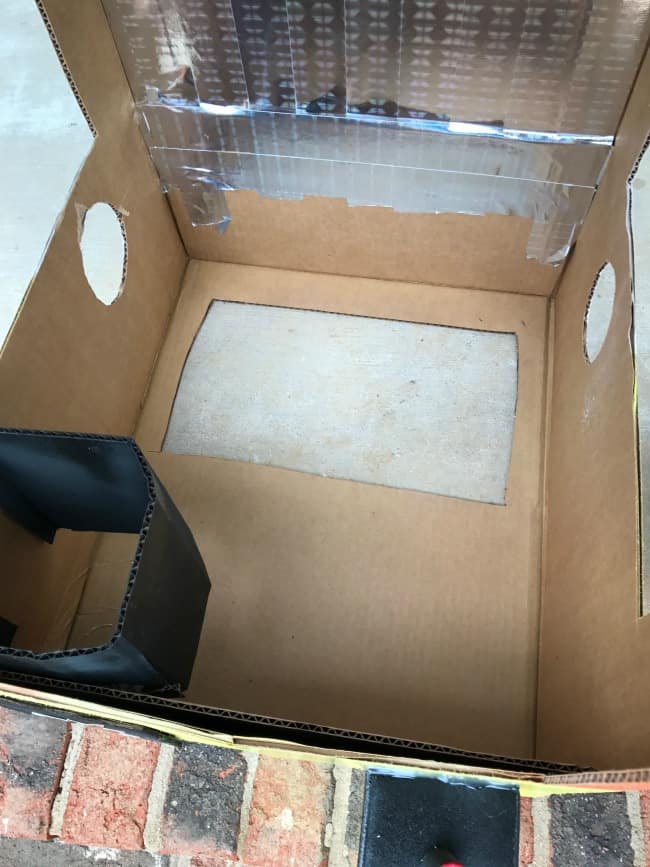
1. Take your box and cut out 3 “windows” (leave the back solid)
2. Prime the box.
3. Spray paint the box whatever color you’d like.

4. Take another piece of cardboard (one of the scrap pieces) and make a design for the top of your “claw machine” and paint it whatever color you want.
5. Glue precut letters or stickers onto the top design (see below)
6. Add the decorative tape to the inside back of the box (to give it a mirror reflection)
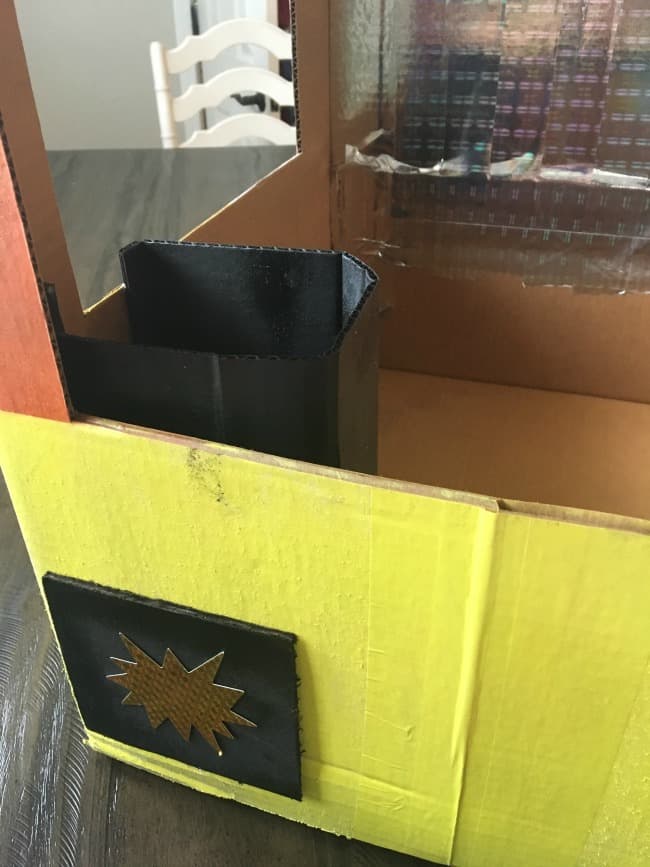
7. Take a small scrap piece of cardboard and paint it black. Bend it into a U shape. Glue it to the front left (inside) corner of the box. This represents where the prize would be dropped.
8. Add the painted prize door to the front of the box.
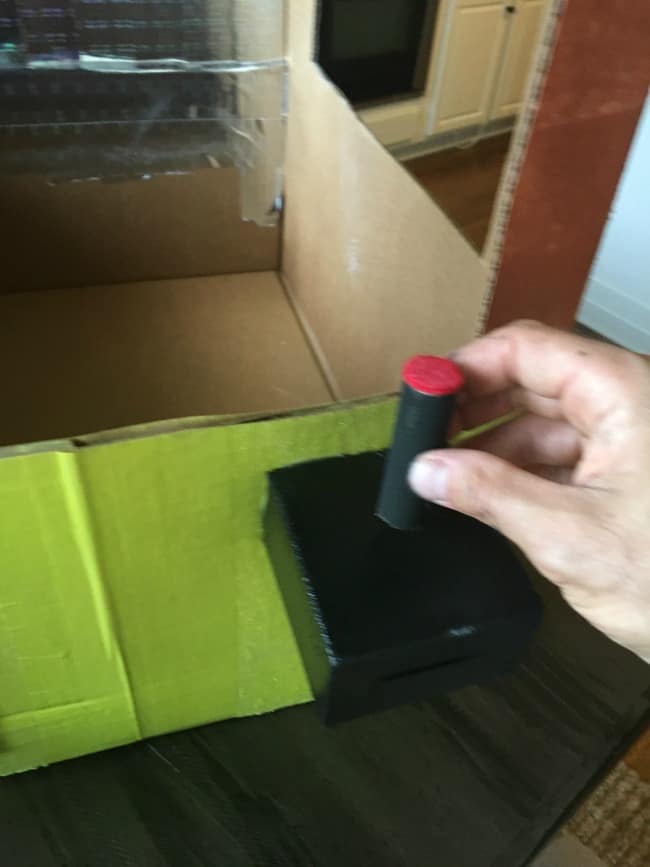
9. I put a small box on the front corner – across from the prize door. I then glued a small wooden dial rod onto the top of the box. I put a felt pad (painted red with marker) to the wooden dial rod, as well.
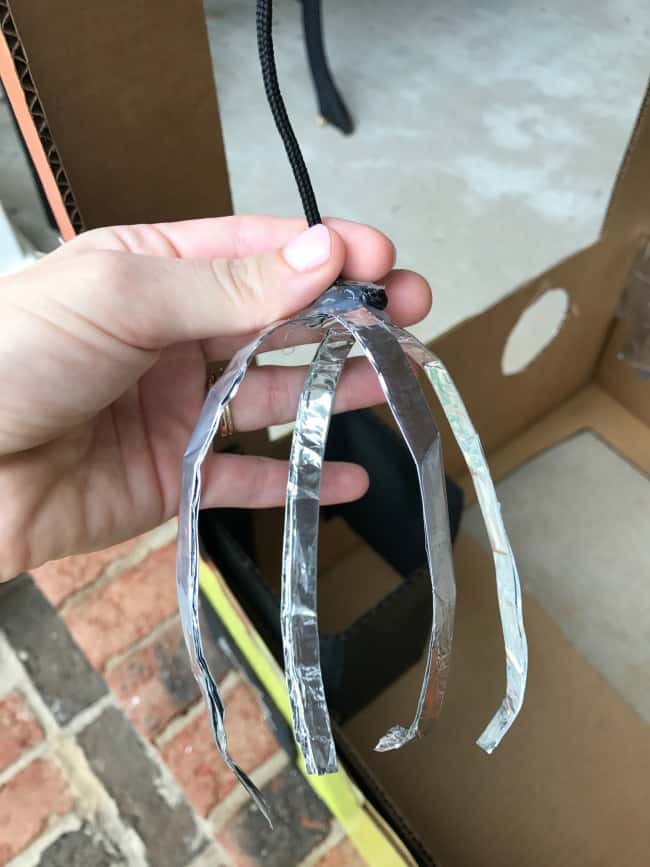
10. To make the claw, just use aluminum foil and glue a string (or shoestring) to it. Staple it to the box and let it hang down.
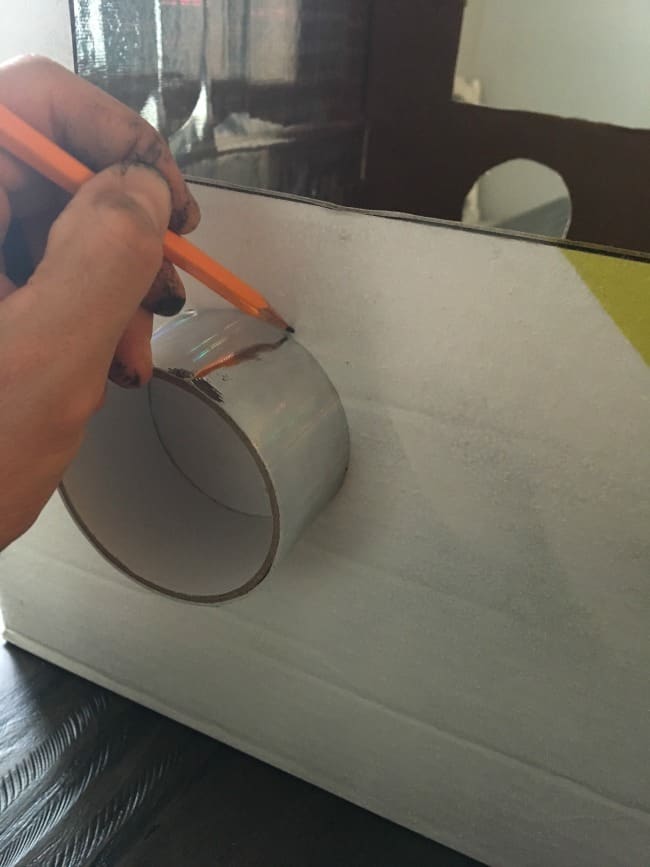
11. Cut arm circles out (I used a roll of tape as my guide). Be sure to put them towards the BACK of the box.
12. Cut a hole at the bottom (for your child to fit into the box).
13. Decorate the box.
14. Fill it with toys!! (Secret tip – use towels to add “volume” before you add the toys on top.)






What a fun idea!
Are you even kidding me? This is soooooo awesome! Love it! He’s going to win Halloween. 🙂