This post may contain affiliate links. Please read our disclosure policy.
After you’re finished carving your pumpkin, trick-or-treating, and celebrating, it’s time to decide what to do with your Jack-0-Lantern.
Pumpkin Science Experiments
If you are debating what to do with pumpkins after Halloween, this science pumpkin carving experiment is for you! Your family (or students) will love it! Plus, it’s a great pumpkin science lesson for them!
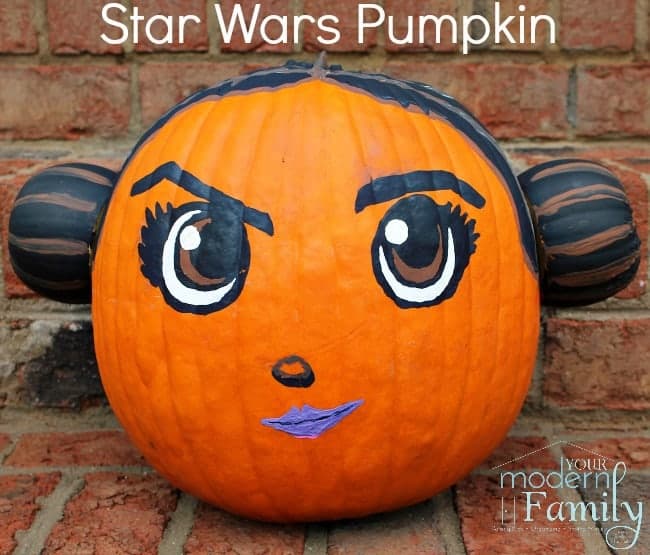
Jack-O-Lanterns are the perfect Halloween decorations! I’ve seen people turn them into adorable melted crayon pumpkins by heating crayons over the pumpkin, painting pumpkins with a fun polka dot pattern instead of carving them, or turning several pumpkins into creative Star Wars Pumpkins.
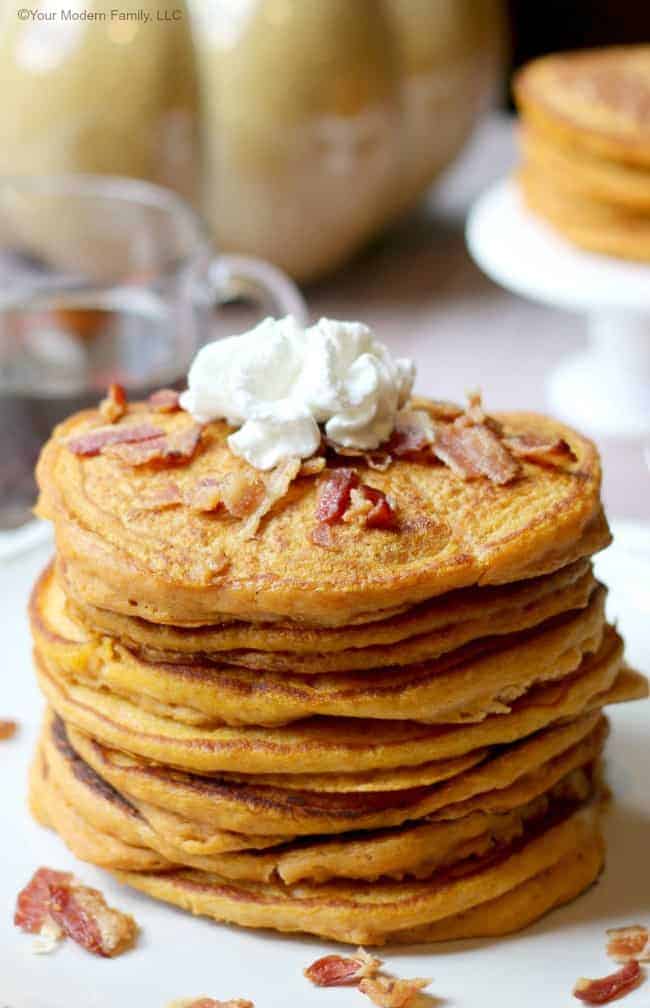
We’ve taken fresh pumpkins and created a healthy snack or a meal. Making pumpkin recipes like roasted pumpkin seeds, and even Maple Bacon Pumpkin Pancakes using pumpkin puree is always a great use of a pumpkin!
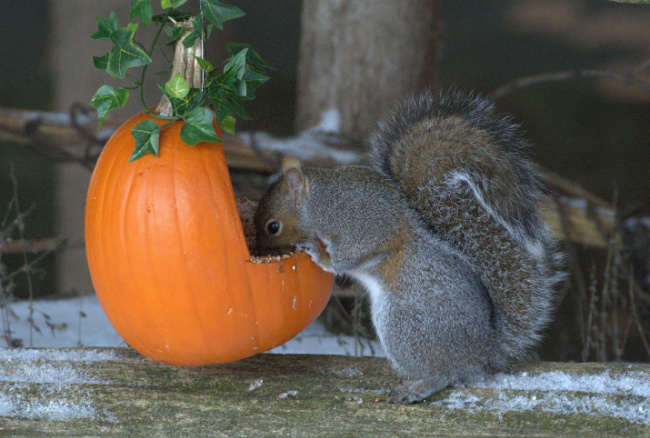
After you decorate pumpkins, you can toss it into a compost pile or cut it in half, hang it from a tree, fill it with birdseed, and turn it into a bird feeder. You can even leave it on the ground for the squirrels.
However… if you are looking for fun ideas for kids and some great ways to turn your decorations into pumpkin science activities, we’ve got you covered! These pumpkin ideas for kids teach while they entertain!
Pumpkin Science Experiment With Your Leftover Jack-O-Lantern
Along with the normal fun pumpkin experiments that we’ve seen like weighing a pumpkin or seeing if it will sink or float, you can also do experiments using the pumpkin as your main feature.
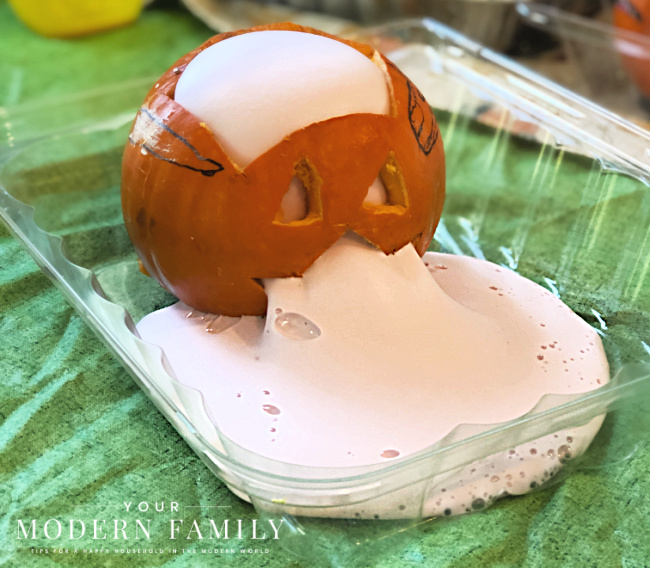
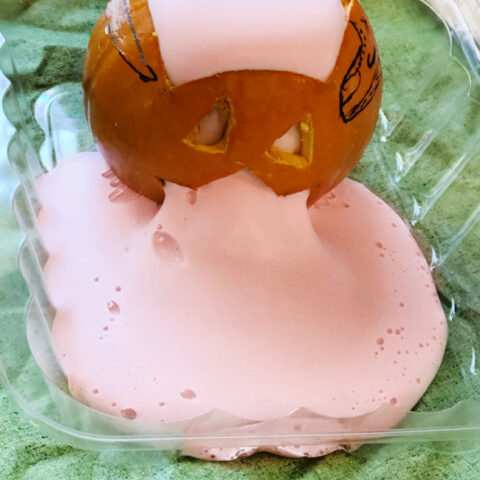
Today’s oozing pumpkin science experiment is great for all ages!
If you are looking for the perfect pumpkin science experiments for toddlers up through adults – you’ve found it! 😉
First, Gather Your Ingredients:
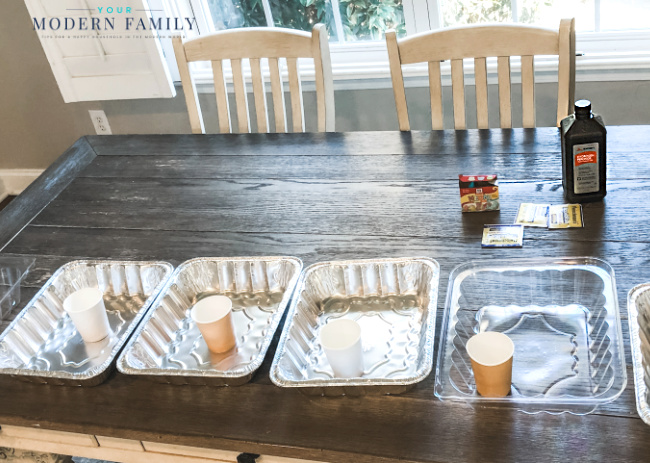
- A cup & a bowl (I also used a tray to contain the mess)
- 2 teaspoons yeast
- 4 Tablespoons warm water
- 1 cup hydrogen peroxide
- 4-8 drops of food coloring
- 2 squirts of soap
- two spoonfuls of baking soda
- **If you use mini pumpkins, divide the ingredients in half.
Directions for the “oozing pumpkin”
- In a small bowl, mix the yeast with warm water – let it sit for two minutes.
- Next, in a cup, mix the hydrogen peroxide, food coloring, soap, and baking soda.
- Put the cup into the pumpkin.
- Then, you will pour the yeast mixture into the peroxide mixture (which is now in the cup… inside of the pumpkin).
Science Pumpkin Experiment
Materials
- A cup & a bowl (I also used a tray to contain the mess)
- 2 teaspoons yeast
- 4 Tablespoons warm water
- 1 cup hydrogen peroxide
- 4-8 drops of food coloring
- 2 squirts of soap
- two spoonfuls of baking soda
- **If you use mini pumpkins, divide the ingredients in half.
Tools
Instructions
- In a small bowl, mix the yeast with warm water - let it sit for two minutes.
- Next, in a cup, mix the hydrogen peroxide, food coloring, soap, and baking soda.
- Put the cup into the pumpkin.
- Then, you will pour the yeast mixture into the peroxide mixture (which is now in the cup... inside of the pumpkin).
I hope your family enjoys this as much as ours did! We kept experimenting for hours! 😉