This post may contain affiliate links. Please read our disclosure policy.
Our kids don’t get many snow days, growing up in the Carolinas, but luckily we grew up in Pennsylvania, so we learned to build everything from DIY igloos to snowmen. Plus, when it gets too cold outside, we just paint the snow INSIDE.
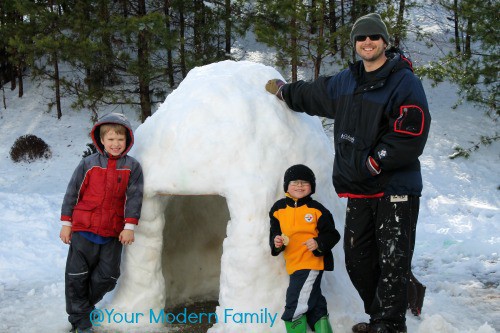
Anyway- after they built one a few years ago, I snapped a picture of it & shared it online. Friends & family asked how we build it, so I asked MIckey to explain how to build a snow house without ice blocks. 🙂
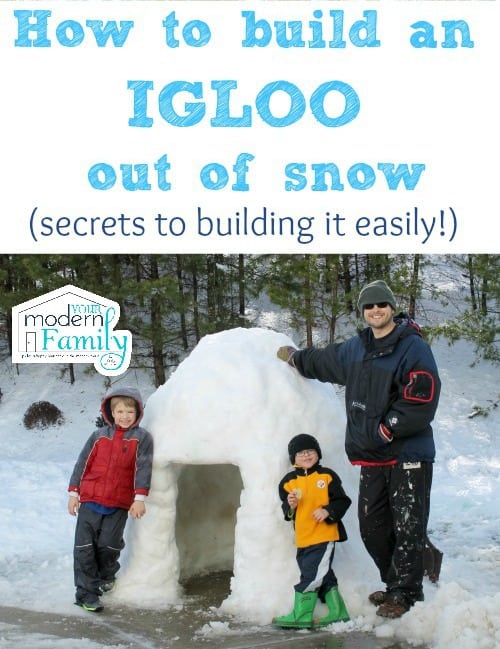
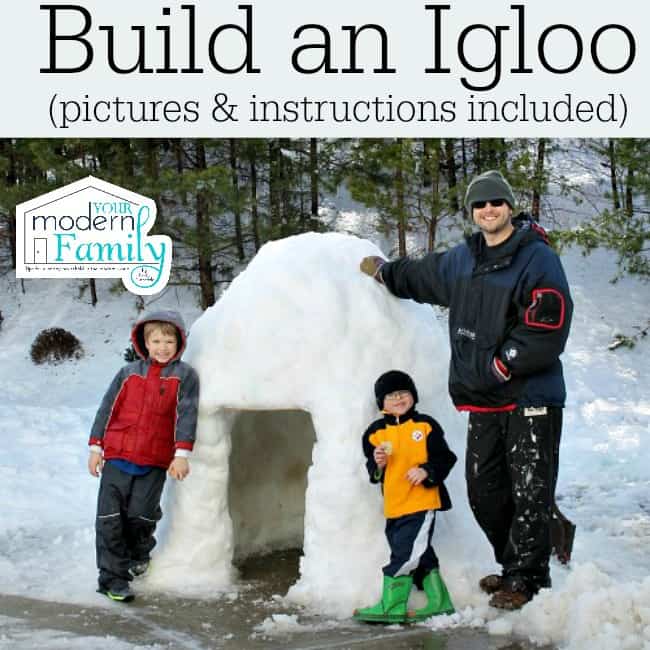
If you ever wanted to know how to build an igloo out of snow … this is how he did it. 🙂
The kids LOVED building an igloo with Mickey and played in it for days!
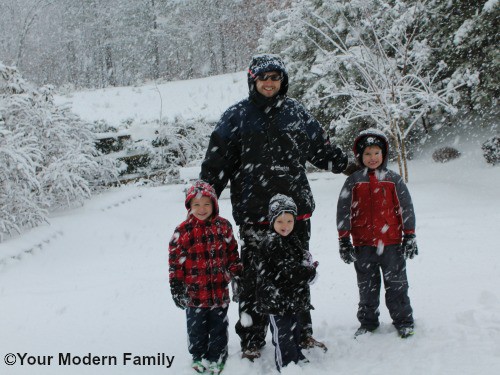
Our kids really have always loved playing in the snow. While they dream about digging a tunnel, we don’t get quite enough snow for that. We do, however, usually get enough snow that they can start building and creating an igloo.
When we heard that it was going to snow, we turned our weather forecast into a science and social studies lesson. Before they went out to build, I took about an hour and taught the kids all about igloos (I was a teacher, so I had some ideas already in mind).
We read about how they are built, why they are used, and where you can find them. Of course, this sparked their interest in igloos and they wanted to build an igloo with their dad! So… they did!
HOW TO MAKE AN IGLOO OUT OF SNOW
Before you begin, you’ll want to test the snow. The bricks that you make will need to be hard-packed snow without soft snow mixed in. You should also be sure that you have enough. I would check that the snow is at least one to two feet deep.
Now, while traditional igloo blocks are 3 feet long, 15 inches high, and about 8 inches thick, we made much smaller blocks because we had a smaller igloo.
Directions to build an igloo out of the snow:
- Make snow bricks – (just blocks of snow). You will need to pack the snow into blocks.
- Move the blocks into a circle (this will be your base) on the ground.
- Don’t forget about the door. No matter how many feet in diameter you make your igloo, leave enough room for the door.
- You need to make your snow blocks (your wall) at least 8 inches- 12 inches thick. If you need thicker bricks or more than one row of bricks, you can do it now.
- Start stacking it high & use snow to act like cement to pack it in. You are compacting the snow.
- When you get to the top of the igloo door, you need to use something to support more snow on top. My husband used a skateboard.

- You can also add a window halfway up. These are great air holes, too. You can leave bricks out of your igloo to create windows, or you can cut blocks in half and make a small window this way.
- Tip: Don’t make the window too big or it will be cold inside! Try to keep it a small hole or window, so that your snow shelter igloo can still keep the body heat in and keep the cold air out.
More Directions for your full-size igloo:
- Pack more snow on top of the wood or skateboard that is above your door. This will begin to support the roof.
- As you get to the top, start slanting it towards the center, gently & slowly. This is going to make your snow cave look like the perfect dome. You are going to be forming a snow mound, carefully.
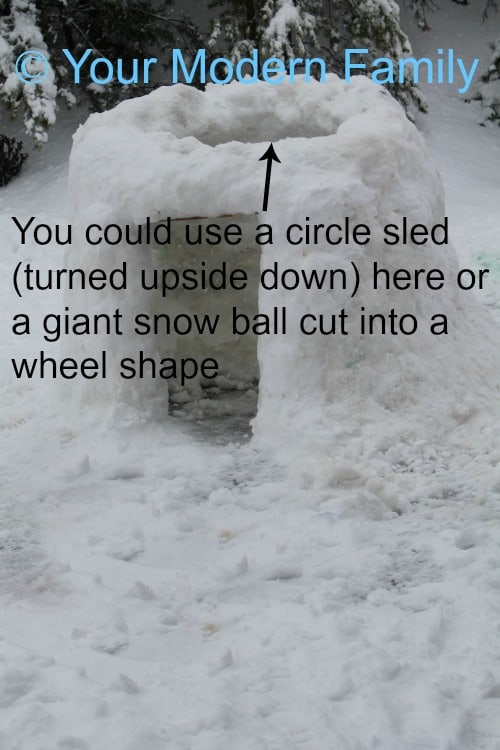
- When you get to the top you can either use a circle sled or something and then put snow on top of this roof. This is why it’s important to make your walls thick with layers of snow. They will be supporting the roof.
- Next, we went inside & packed snow on this to fill in the gaps (again, acting like cement). Do this on the outside, too. Add enough snow to create a dome look.
Supervise your kids when playing in it!
Don’t let them play in it without you because when the snow starts to melt, this could fall apart (just wait until the snow does start to melt because this is when the REAL fun comes in and the kids get to knock it down.)
The whole process of building an igloo was fun. They loved building the igloo out of snow, playing it the igloo and the snow, eating snacks in their igloo… and then knocking it down when it started to melt (to avoid anyone getting hurt in it.)
MORE SNOW ACTIVITIES FOR KIDS!
- Paint the Snow (inside)
- Make Snow Cream
- Make SNOW with glue & shaving cream (come inside for a little while!)
- Make snowman pancakes
- Decorate simple snowman cookies


Building igloos is fun! We built one this past weekend by building a pile of snow. Then spraying water over the top of it to freeze. Then it was hollowed out.
Oh- that’s a great idea w/ the ice over it!
“giant snow ball and ‘cut the edges’ to make a wheel shape”
NOT a good idea. Snow caves/”igloos”/forts collapse every year, sometimes tragically (someone is inside).
Make sure to use a support like the saucer sled mentioned in the graphic.
This is a wonderful activity idea for families with children. Time to build it and then of course time to use it. Enjoying a pic-nic in the snow in your own little igloo is fantastic.
thank you.
🙂 thanks!
How long did you feel this last for?
Also I was looking at making ice blocks instead would this work ?
About 2 days, but we are in the Carolinas, so it warms up quickly after a snowstorm.
OMG! The sled on top – GENIUS idea!!
LOL! Thanks!