This post may contain affiliate links. Please read our disclosure policy.
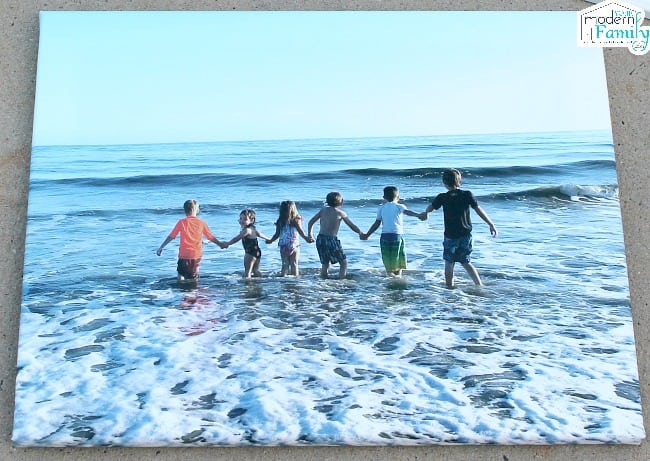
Our kids are the happiest when they are playing in the ocean, so I always take a ton of pictures. I get home and look through all 400 of them and realize that there is no way that I am going to print all of those, or even take the time to upload them to website. So… there they stay, on my computer.
Finally, I decided that I was going to pick my favorite one each year and have it made into a canvas print. When Simple Canvas Prints offered to send me a canvas print, I jumped on the chance to print out this year’s beach picture. (You can take 80% off of your print today, too!)
The prints turned out perfect! They were clear, crisp and just what I was hoping. We have them hanging up in our kitchen (one is with the kids turned away & the other is with them looking at us… it is adorable!)
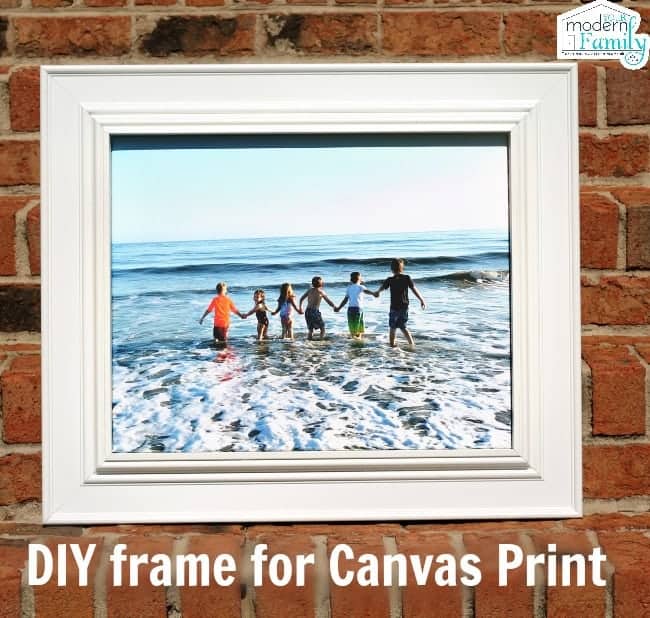
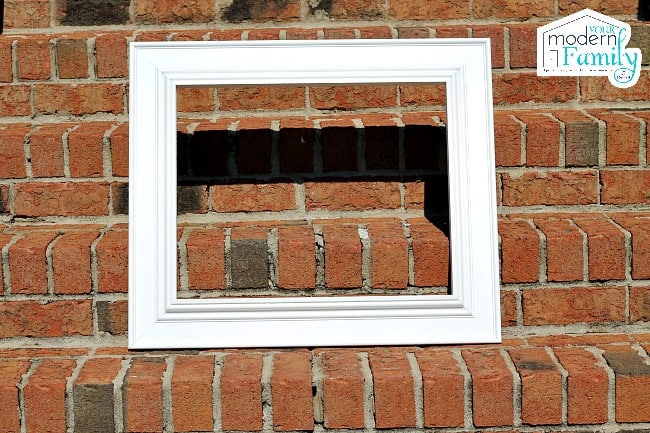
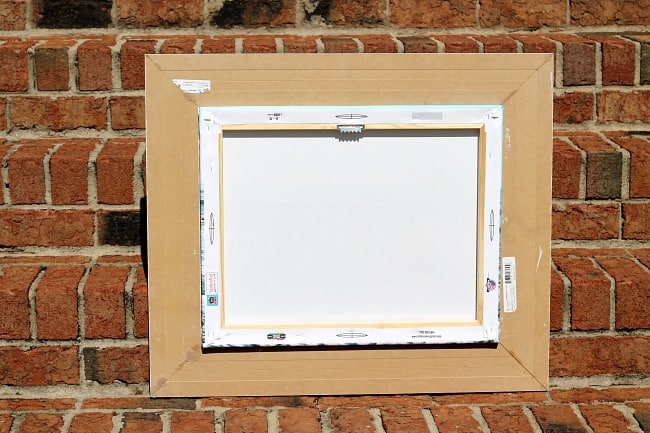
I loved it so much! It turned out just as I had hoped, but I didn’t love how it looked on our walls, since everything else in that room had a white frame, so I put Mickey on the job. He started making frames for the prints.
Directions:
1- Measure the canvas (length and height). Add 1/8 of an inch to your measurements.
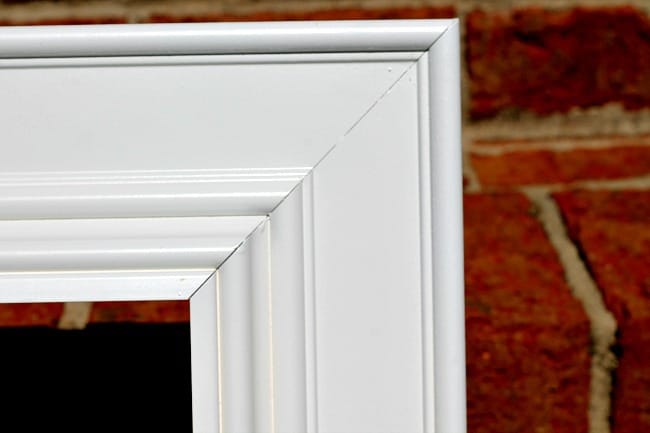
2- Set your miter saw to a 45 degree angel
3- Make your first angel cut at the edge of the board.
4- Measure from the bottom corner of the angel out to the length of your picture, plus the 1/8. Mark this.
5- Turn your miter saw to the opposite 45 degree side and make sure that line matches up with that mark.
6- Make two boards the exact same way, identical.
7- Do the same for the other two sides, making those two the same.
8- I usually mock-fit it around the frame before gluing.
9- If it fits, glue them together with a heavy duty wood glue. I did one corner at a time and let it dry before moving to the others. Start with opposite corners (so you have two L’s, then glue them together).
Put a wall hanger on the back.
I love the way that it turned out! It was easy and inexpensive to do this (which is perfect since the Simple Canvas Print is 80% off, too!)
Find my other favorite decorating tips here.
