This post may contain affiliate links. Please read our disclosure policy.
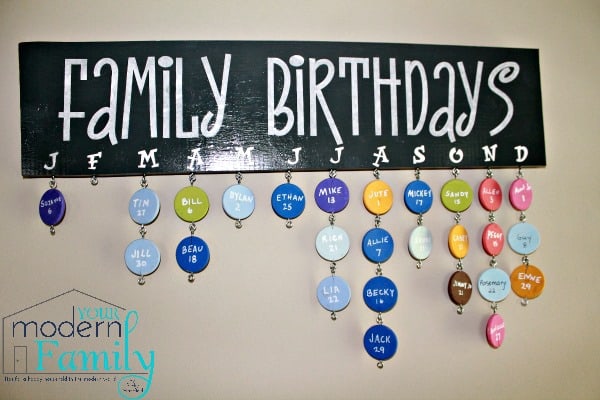
Last year, for my Mom’s birthday, my husband and I wanted to make her a wooden birthday sign. I had seen it sold on Etsy and a few other places, but I knew that we could make it ourselves.
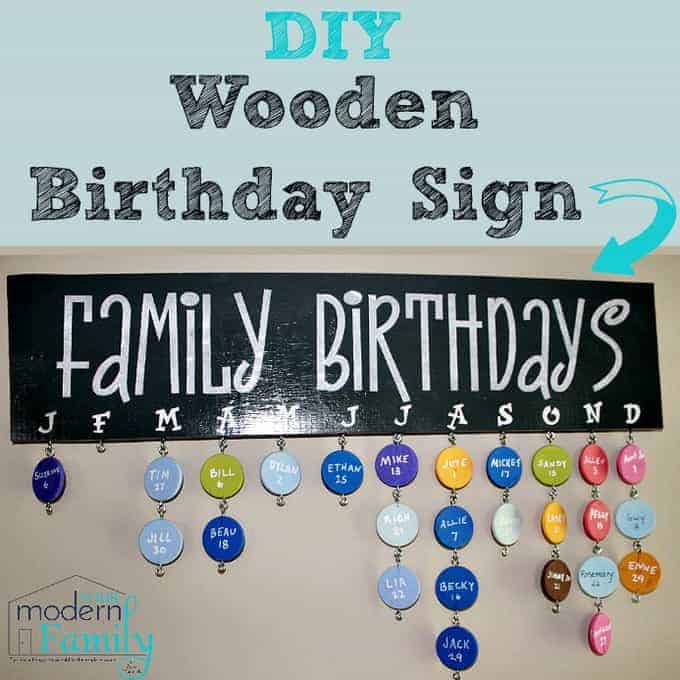
Here is how we made it…
What you need:
1- Piece of wood (a 1 X 6 worked nicely for us)
2- Little wooden discs– these come in a package at Michaels or you can buy them on Amazon. Here is a package of 100 (I would get this if you plan on making this as gifts because you will end up needing a lot if you make it for several people): 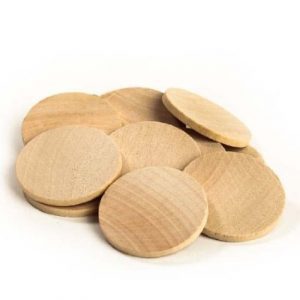
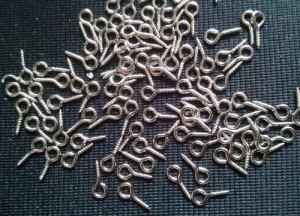
3- Package of Eye Pin Findings
You can find these at a craft store or you can order them online.
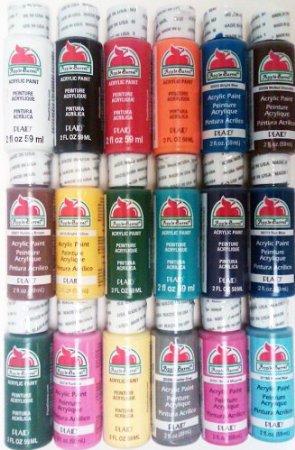
4. Paint.
You can either stick with just a few colors, or you can do what we did. I did one color per family. So- my husband, myself and our 4 kids were blue. My brother, his wife, and their two kids were a different color.
Here are a few packages of paint that might be helpful:
A- Apple’s BEST SELLING paint colors in a pack:
Or this one:
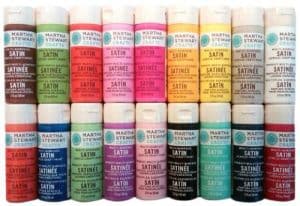
B- Martha Stewart’s Craft Paints:
5- Letters:
You will need vinyl letters or stencils (depending on how you want the font. You can either paint it yourself, or you can use vinyl letters). We actually downloaded the font, Teeny Boopin’, and then we printed it out onto sticker paper and we used a razor blade to cut out each letter. It was very tedious, but I loved the look of that font. If you had a Suiloette, you could fly through this step!
6- A paint pen (we bought two)
7- Hooks for the back (to hold it up on the wall)
How to make it:
1- Take your 1X6 and spray paint it the color of your choice. We went with a gray color. Let it dry.
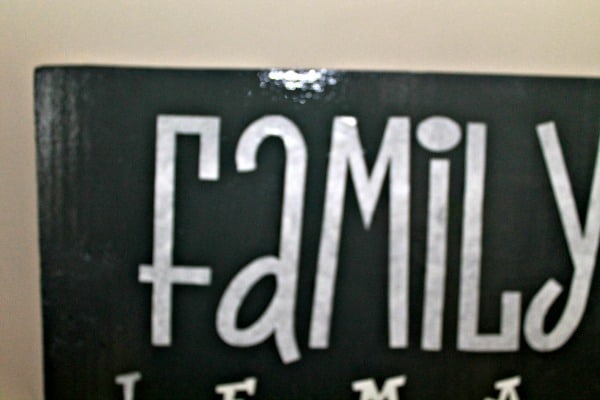
2. Put your vinyl letters on top for the Family Birthdays
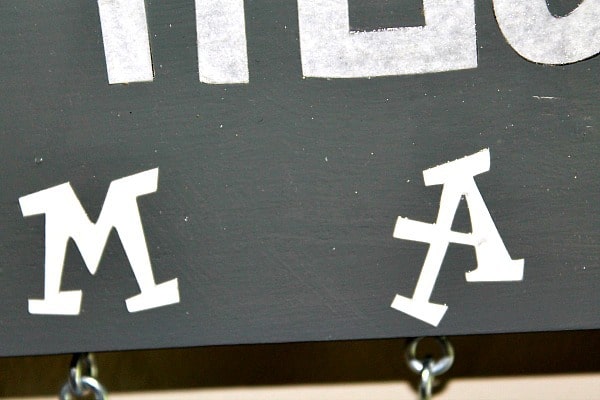
3- Lay out your months how you want them (an inch or two apart) – We just put the first letters of each month
4- Start painting your discs.
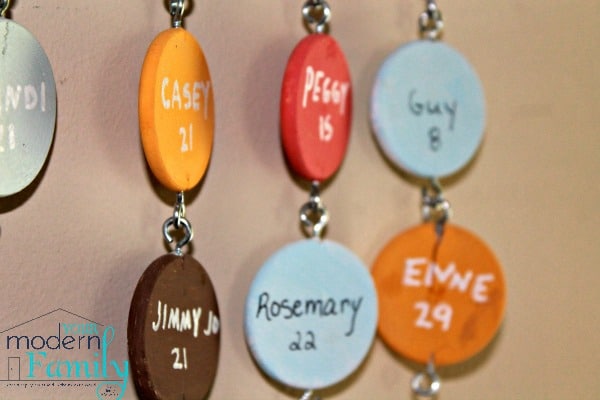
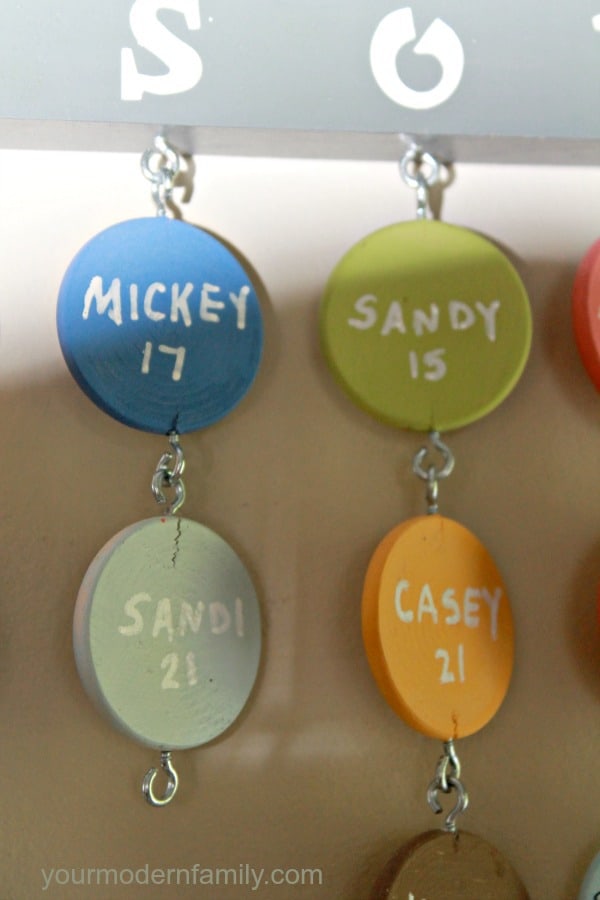
5- Use a paint pen to write the dates of the birthday and the names on each disc after the paint it dry.
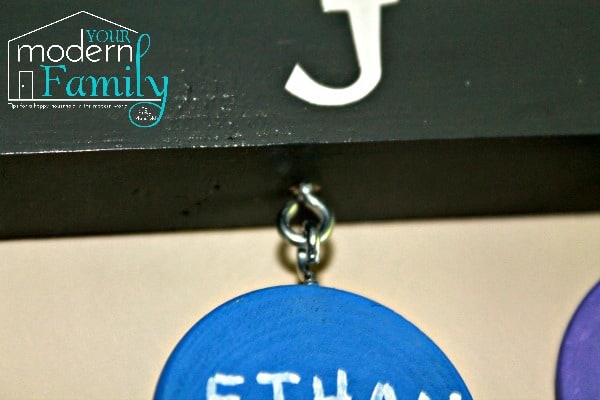
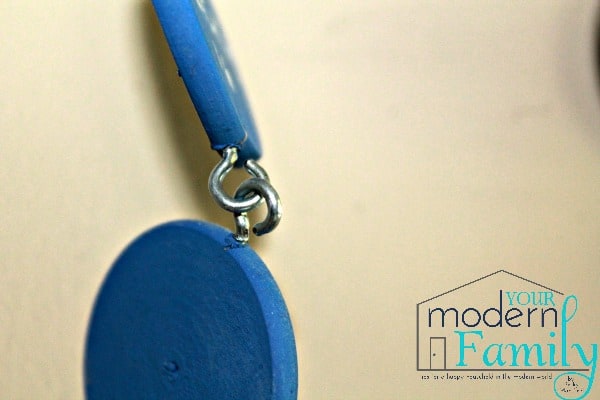
6- Start using the little eye pins and put them into place.

7- add hooks to the back of the sign (to hold it to the wall).

8- OPTIONAL. You can spray the whole thing with a sealant. We did it and it really darkened our board. I would be careful doing this with vinyl letters because it makes them peel off a lot of times.
That’s it. It makes a great gift!


I have seen this & really been wanting to make one for my mom as well. Thanks for the tutorial. Yours is adorable!!
thanks- I love it. I want to make one for our house, too (this was one a gift for my parents) 🙂
Thanks for the great tutorial! I’m making one right now. What was your technique for getting the eye pin into the wooden discs. I am having such a hard time getting them in without cracking.
My husband used VERY SMALL drill bit & predrilled hole before hand- just enough to where you could feel the screw beginning to get tight. He said to use the drill just to start it so that it doesn’t crack (but a few did anyways).
I think that it would be helpful to add this as a step. I found it difficult to put them in the discs, and luckily I have a drill, but for those that might not, it would be something to mention that they might need. Also, the eye pins you linked to have no way of connecting to each other, so I had to use pliers to cut part of them off to make them more like hooks. How did you do it?
Hello I will be creating one of these for the youth & Sunday School leaders at my church. I have seen these on Pinterest but I love being able to take the extra time in learning how to do it yourself.