This post may contain affiliate links. Please read our disclosure policy.
I am going to start doing a Weekend Warrior Wednesday, where I will post a project that my husband has done. Today is the first one:
DIY: Replace glass tabletop with tile
So this week, I picked up a really great wicker table and five matching chairs for our screened-in porch that my husband, my dad and my brother are building for me! It was a great deal because I knew that even though it needed some TLC, my husband would be up for the challenge. (Maybe “up for the challenge” wasn’t quite right… it was more like “Ok, I’ll do it if you’ll stop asking me.” haha! )
Anyways- The glass on the table was missing and I didn’t want to replace it because:
1- We have kids
2- It might break
3- Messy hands make messy glass
4- I would be cleaning it constantly!
5- Glass is expensive to buy and have it cut to size
Here is how he came up with a great replacement for under $15:
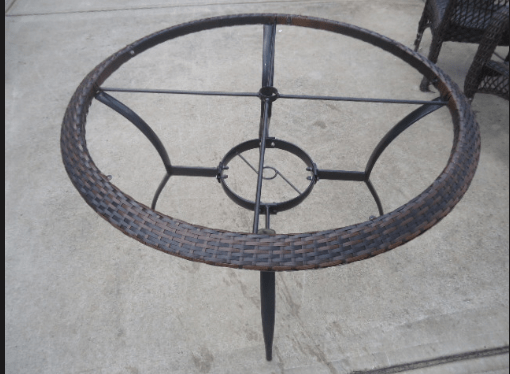
First- the table before:
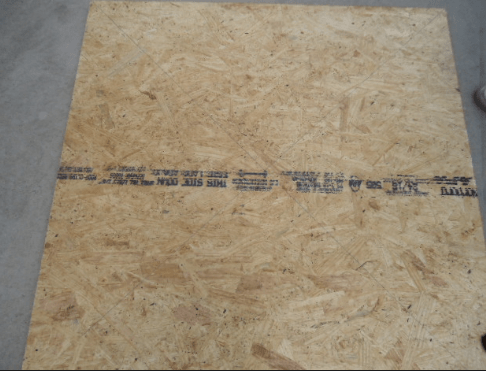
 Next, he got a piece of cheap plywood from Lowes ($7) and had it cut in half while we were there.
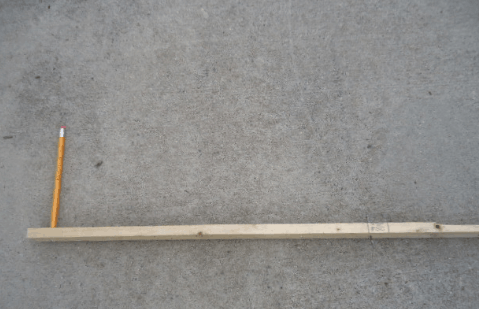
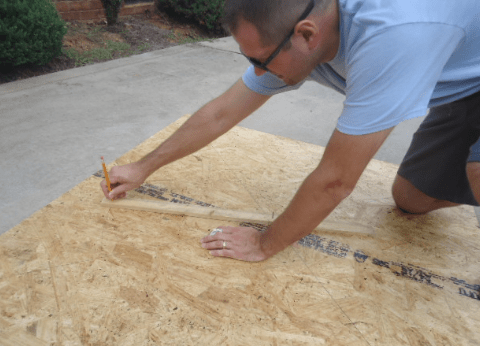
He measured the table (one side to the other) and he then made those lines on the wood, making an X.
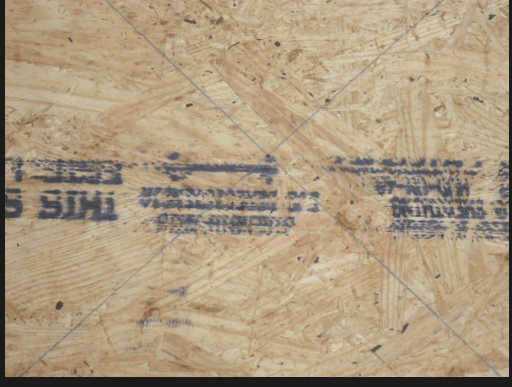
He made a compass/protractor type of tool to make a circle. He put a nail on one end and a pencil at the end (the length of the line from the center to the end) and made a perfect circle.
 Measure the circle after you draw it to make sure that it is the right size before cutting.
Cut the circle with a jigsaw (Drill a hold first, as a starter hole, on the edge of the circle).
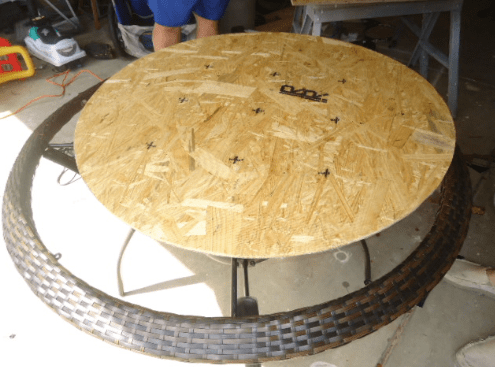
Next, we bought peel and stick tile at Lowes for less than $1.00 a piece. We used the self-stick, but he had to add a layer of adhesive under some of them because they started to come up, so he recommends using the adhesive/glue before you use the self-stick tile. Use the cross lines as a point of where to start the squares.
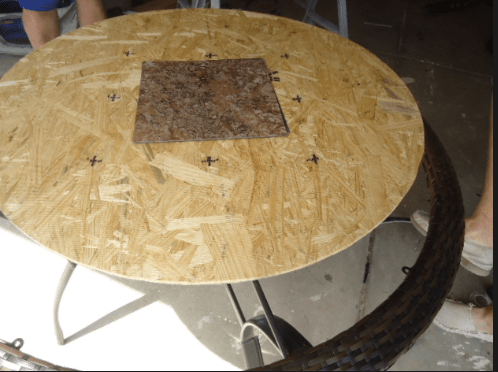
When you are putting them on, cut them a little bigger around the circle’s edges and when you are done, just flip it over, lay it down and use a razor knife to trim the edges.
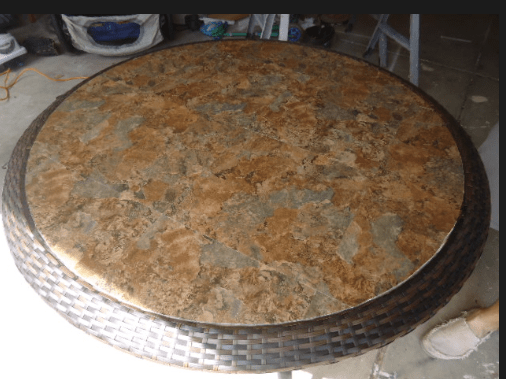
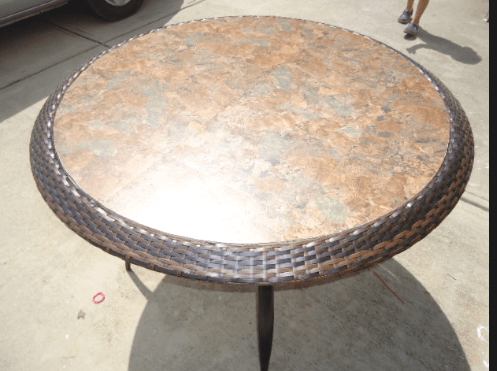
Here is the finished product – easy to keep clean, replace and change as we need to. It is not easy to break when the kids use it and you can’t see any messy (tiny) fingerprints!


Ingenious and beautiful. Thank you for sharing….I’ll be making this in a few days.
Oh good! I hope it turns out great! 🙂
Did the wood rot from rain… and how sturdy was the table.. did you need to reinforce it?
We have it on a screened-in porch, so it never really got wet. Sorry!
So how has this held up in the weather? Or did you use treated plywood?
What thickness was the plywood? What type of plywood used?
How big was your table in diameter?
Thank you for this idea! My glass table top just shattered yesterday in the wind with help of an umbrella. I was looking for easy and nice fix. This looks like it.
Oh good! I’m so glad that you were able to find this post – it was definitely easy! Good luck! 🙂