This post may contain affiliate links. Please read our disclosure policy.
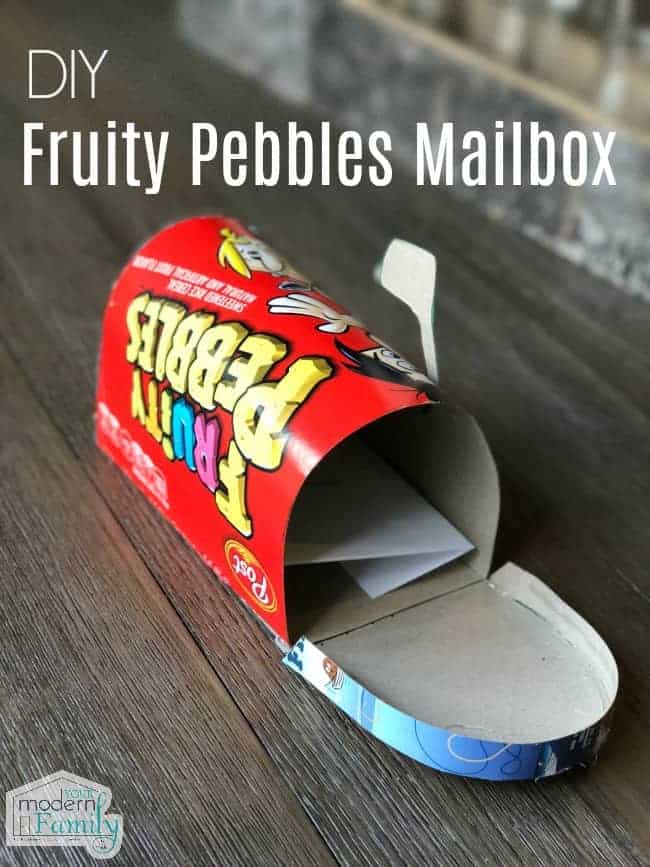
I have four kids and each one of them is so different. I have a football player, a baseball player, a builder and a dancer. Our builder, Beau, is into creating anything that he can with any materials he is given. Luckily, my husband is up to the challenge of helping (although if you asked Beau… he requires no help for his projects.). Today, I partnered with Post Fruity Pebbles to share this DIY Cereal Mailbox craft.
It started today when Allie asked her big brother, Beau, to make a mailbox for her playhouse. He was ready to take on the challenge. He grabbed his materials:
-
- Two Fruity Pebbles Cereal Boxes
- A Low-Temp Glue Gun
Since he was going to be using Fruity Pebbles cereal, he knew it would be easy. He saves the cereal boxes after they eat the cereal because he loves how they are colorful and bright, thanks to Fruity Pebbles iconic colors. Don’t be surprised if your kids say “Yabba Dabba Doo!” while making this mailbox.
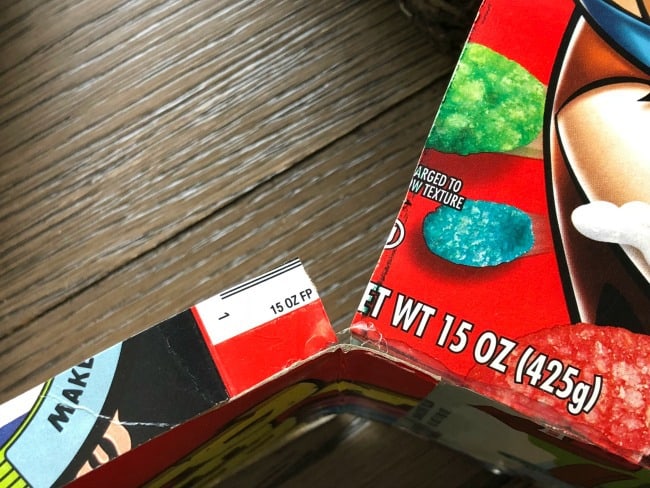
Step one was to grab everything you need & cut the boxes apart:

The front of the box becomes the top of the mailbox & the bottom of the box becomes the back & bottom of the mailbox. (You’ll use the second box for the door & Flag).
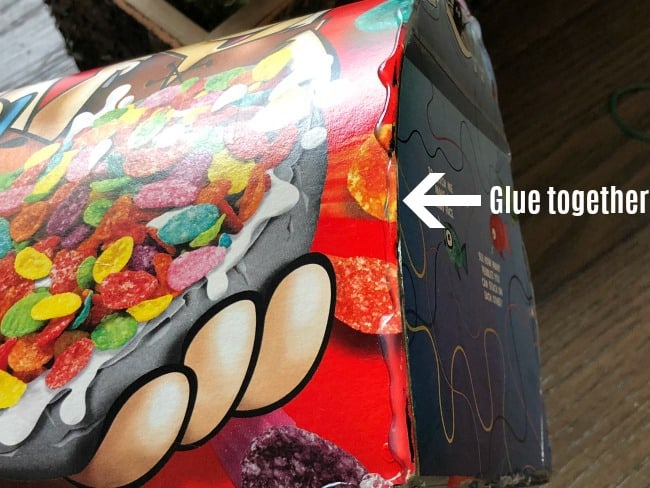
Glue the bottom onto top, as you curve the mailbox. (Hold it until the glue dries).
Then glue the back onto the box. Again, hold it together until it dries.
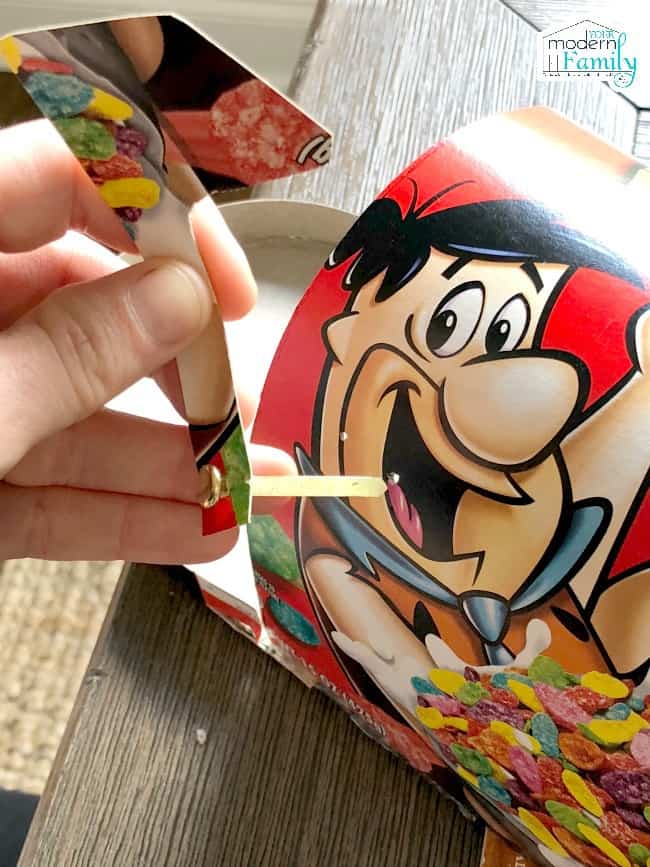
To make the door, trace it first.
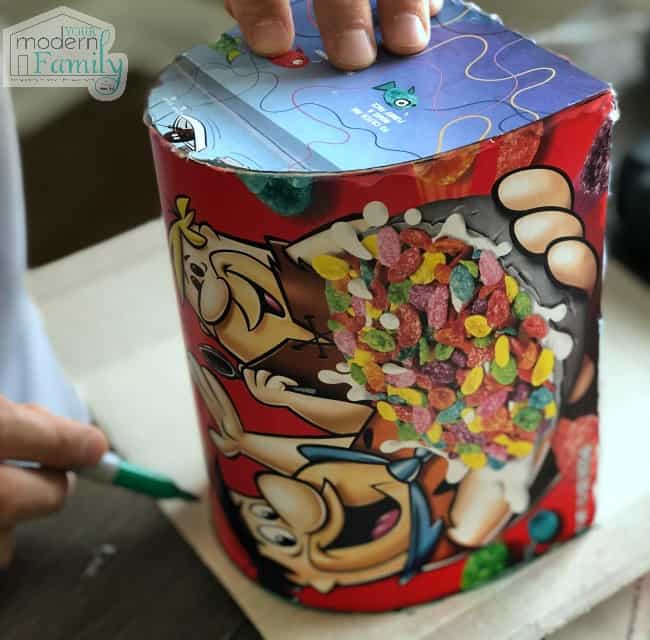
You will need to glue a “rim” around the door. Then attach the door by making it longer than it needs to be and gluing it to the bottom of the mailbox.
Tip: to get the mailbox door to stay closed, place a few dots of glue on the rim of the door (inside) and let it dry. It will add friction.
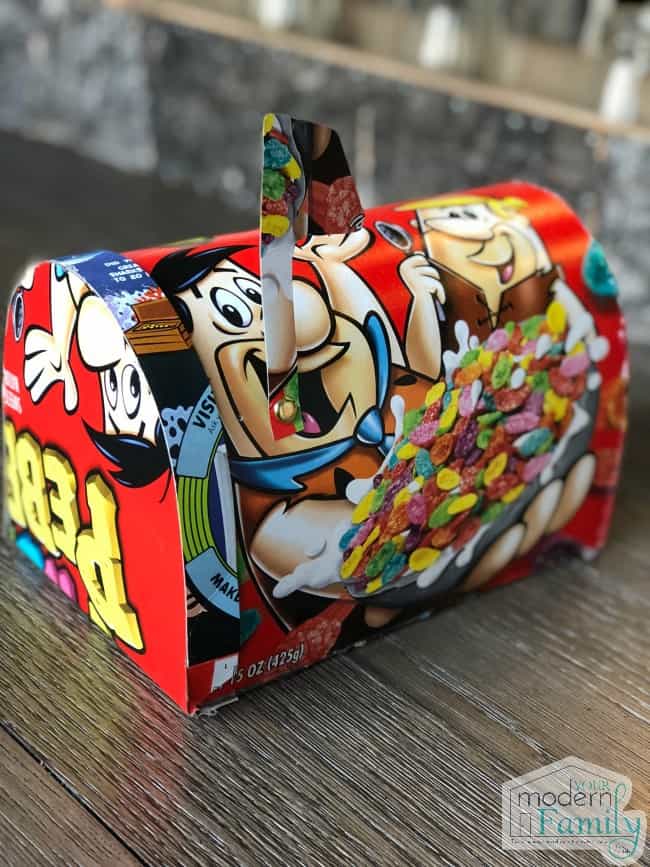
You can even add a fun little flag!
That’s it! It’s so fun to make and the kids will love it!
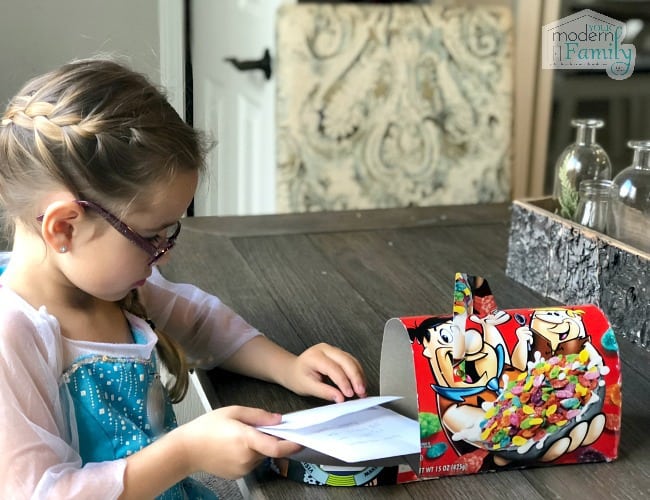
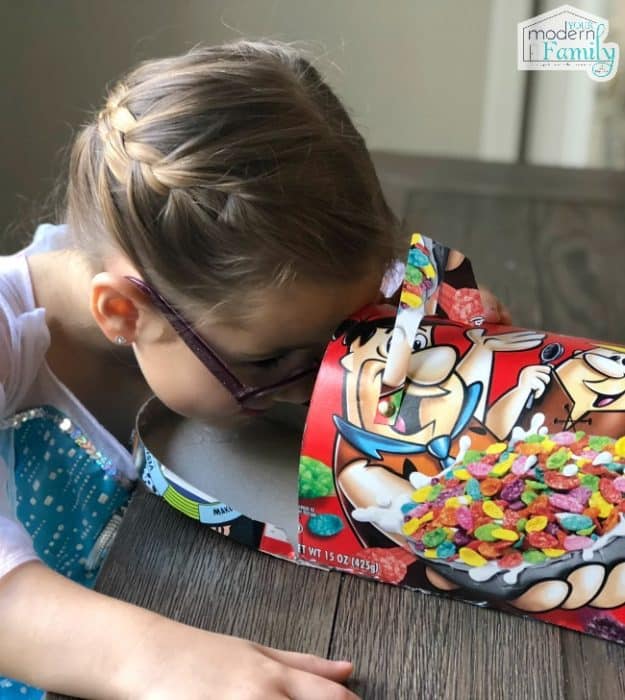
His sister played with it for hours!
So the next time your kids eat Fruity Pebbles, save the box and turn it into a fun creation! Let your kids think ‘outside the (cereal) box‘ and give life to their ideas!