This post may contain affiliate links. Please read our disclosure policy.
Are you looking for Dirty sock syndrome Cleaner? This actually works!
My dad recently shared his remedy for Dirty Sock Syndrome – the odor that comes from an air conditioner or heat pump. I wanted to share it here in case you were looking for a Dirty Sock Syndrome Cleaner.
What is Dirty Sock Syndrome?
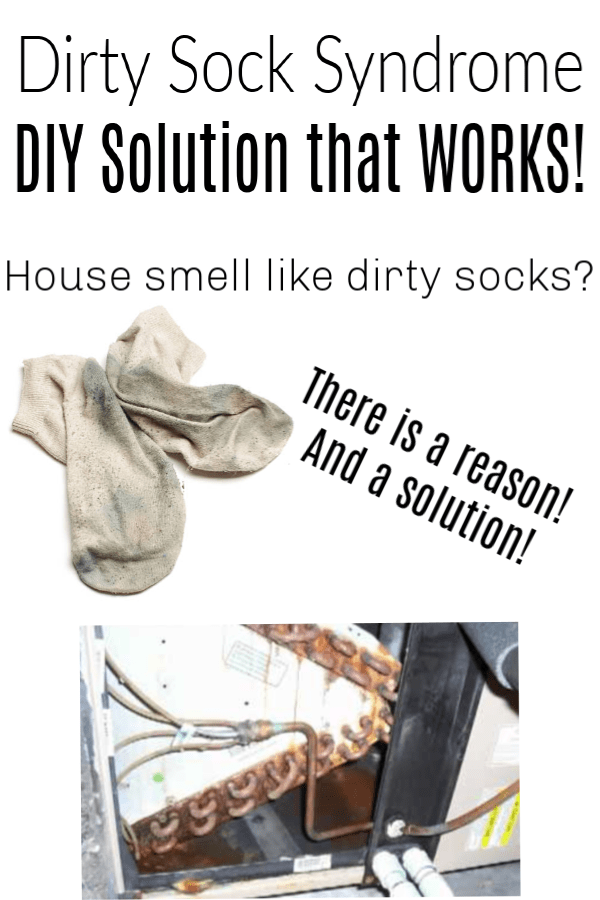
Dirty sock syndrome is the moldy smelling odor that comes from your air conditioner or heat pump when you first turn it on or when a heat pump goes into the defrost cycle It smells similar to dirty gym socks which is where the name comes from. It is caused by mold and bacteria on the evaporator (indoor) coil).
Why does DSS occur?
DSS (Dirty Sock Syndrome) smells like a Locker Room and is not a smell that you want in the home. So… why does it happen? Many have suggested that this occurs on newer units because the aluminum used in newer coils may be more porous than that used in older units.
Those in the HVAC industry have not yet been able to identify a direct cause, but dirty sock syndrome HVAC issues are bothersome, nonetheless.
Is Dirty Sock Syndrome Dangerous?
According to AMS Air…
“The short answer is, it depends. Usually, the answer is no, dirty sock syndrome is not dangerous. Dirty sock syndrome is caused by a variety of bacteria and mildews, none of which are harmful to your health under normal circumstances (normal immune system, etc). Where you can get into a dangerous area is if mold gets introduced into your HVAC system and begins to grow. Mold can be a health risk to you and your family and should be handled appropriately. Don’t go crazy just yet though – as a general rule, the CDC reports that most molds are only mildly toxic to humans and that symptoms in even heavily infested homes rarely progress past chronic coughing and wheezing. ”
Is there a solution for Dirty Sock Syndrome?
Yes. We have come up with a solution that works for us for at least a heating season. This process could be repeated annually if needed.
How do you get rid of Dirty Sock Syndrome?
- You must have access to both the upstream and downstream sides of the indoor coil. If not, you will need to cut a large access port in the return air duct to allow access to the upstream side of the coil.
- A cover will need to be fabricated.
- To apply the solutions, we suggest using a wand type pressure sprayer available from home improvement stores to more easily allow reaching all parts of the indoor coil.
- Shut off power to the indoor unit. It may be best to shut it off at the circuit breaker but we simply shut it off at the thermostat.
- You must clean ALL parts thoroughly (ex: cleaning the cabinet wall, etc…) Otherwise the smell may come back.
- Take care not to wet any electrical components.
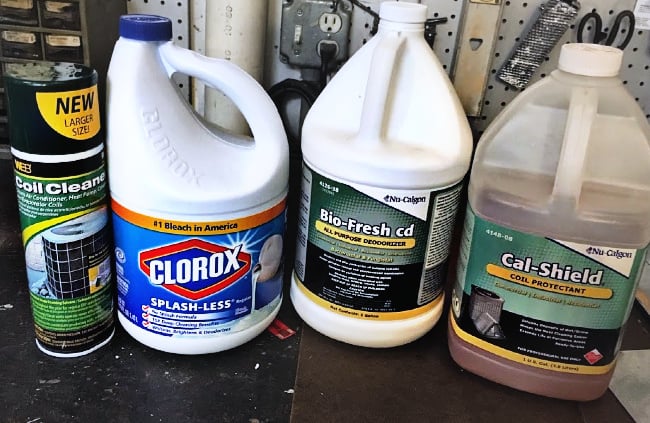
- Liberally spay both sides of the indoor coil with a foaming HVAC coil cleaner such as Web Coil Cleaner (see picture). If the air handler is mounted vertically, we suggest spraying the underside first in all of these steps. Spraying the topside first may result in more dripping on you when you spray the underside.
- Allow the coil cleaner to work for 10-15 minutes.
- Mix up a solution of 1 part quality chlorine bleach such as Clorox to 8 parts water.
- Liberally spray both sides of the coil and other areas with this solution.
- Allow 10 minutes for the solution to work.
- Liberally spray a chlorine dioxide coil disinfecting solution such as Bio Fresh CD (see picture) onto both sides of the coil and other areas. Per the manufacturer’s directions, allow this solution to dry completely. Do not rinse.
- After 10 minutes, you may temporarily reinstall the covers, turn on the power, and run the blower only to speed the drying process. (Set the “Fan” side of the thermostat to “On” and turn the temperature way down if in the heating mode, or way up if in the cooling mode so that only the fan runs).
- We like to run the blower for about 30 minutes to be sure everything is completely dry.
- With the coil completely dry, shut off the power again and liberally spray Cal Shield coil protectant (see picture) onto both sides of the coil. It contains Teflon which should help shield the microscopic pores in the indoor coil. Allow this to dry completely.
- The manufacturer’s instructions recommend at least 10 minutes of drying time. We like to wait a bit longer, closer to 30 minutes before turning the unit back on to be sure it is completely dry.
- You may reinstall the covers in the meantime, while you are waiting.
- Turn the unit back on.
- When the unit first comes back on, you will notice the smell of the solutions but it fades in a short while.
Those are the steps needed to clean your house of Dirty Sock Syndrome.


can you please do a video on this DSS DIY solution
Thank you for your comment, but we will not be able to make a video at this time. Let us know if you have any questions about the above steps 🙂